Today we are going to learn about how to turn photos into looking like Film using Adobe Lightroom. (Yes, as in the old fashion film cameras). In this tutorial we will be using Lightroom for mobile. You can achieve the same thing using the Desktop’s version.
Let’s get started!
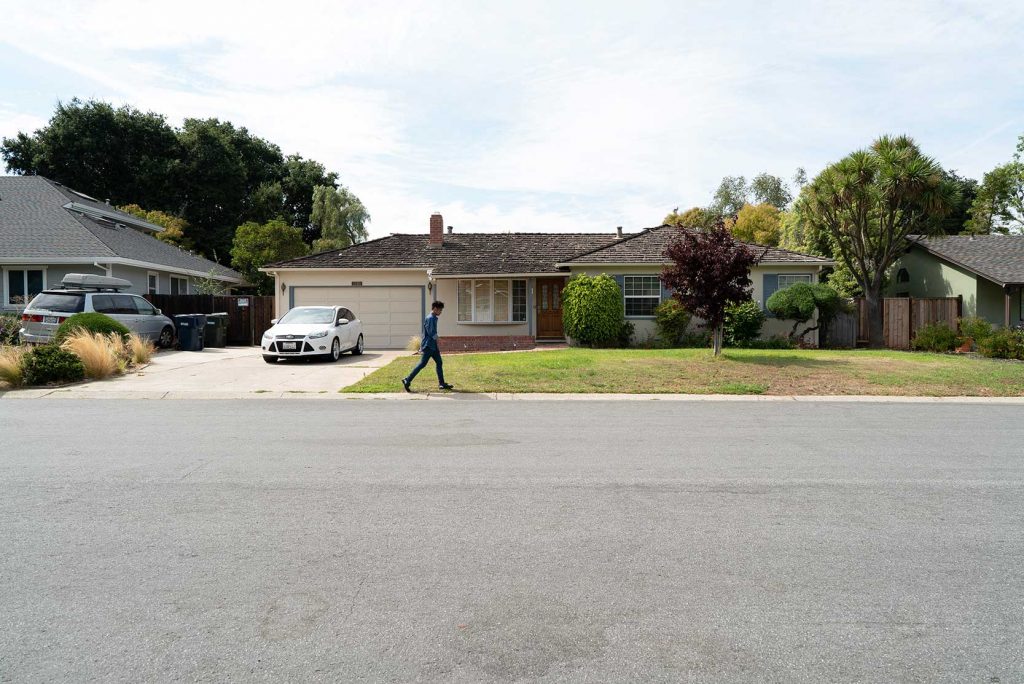
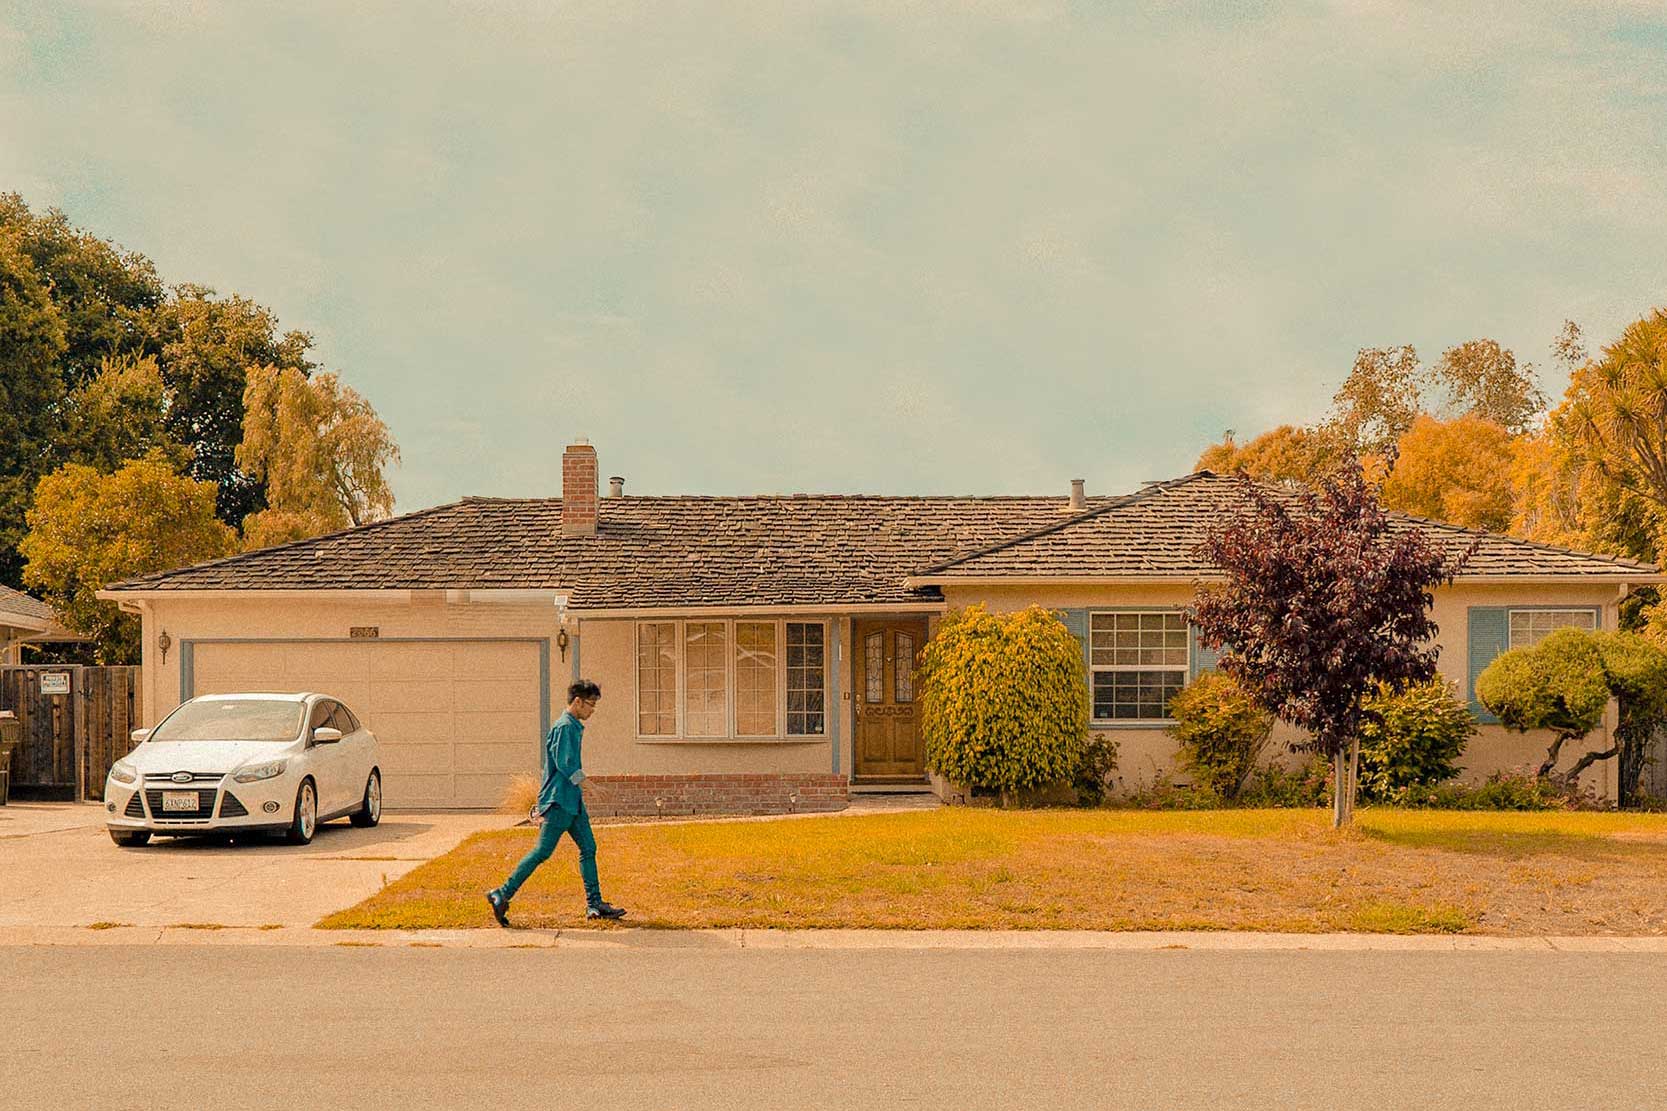
We will be using one of my favorite photos taken during my San Francisco / San Jose trip. It is a photo of me walking in front of the legendary Steve Jobs house. The birth place of Apple Inc., Steve Jobs’s Garage.
Film Look Lightroom (Edit Photo to look like Film in Adobe Lightroom)
Tutorial : Adding Film Look using Adobe Lightroom
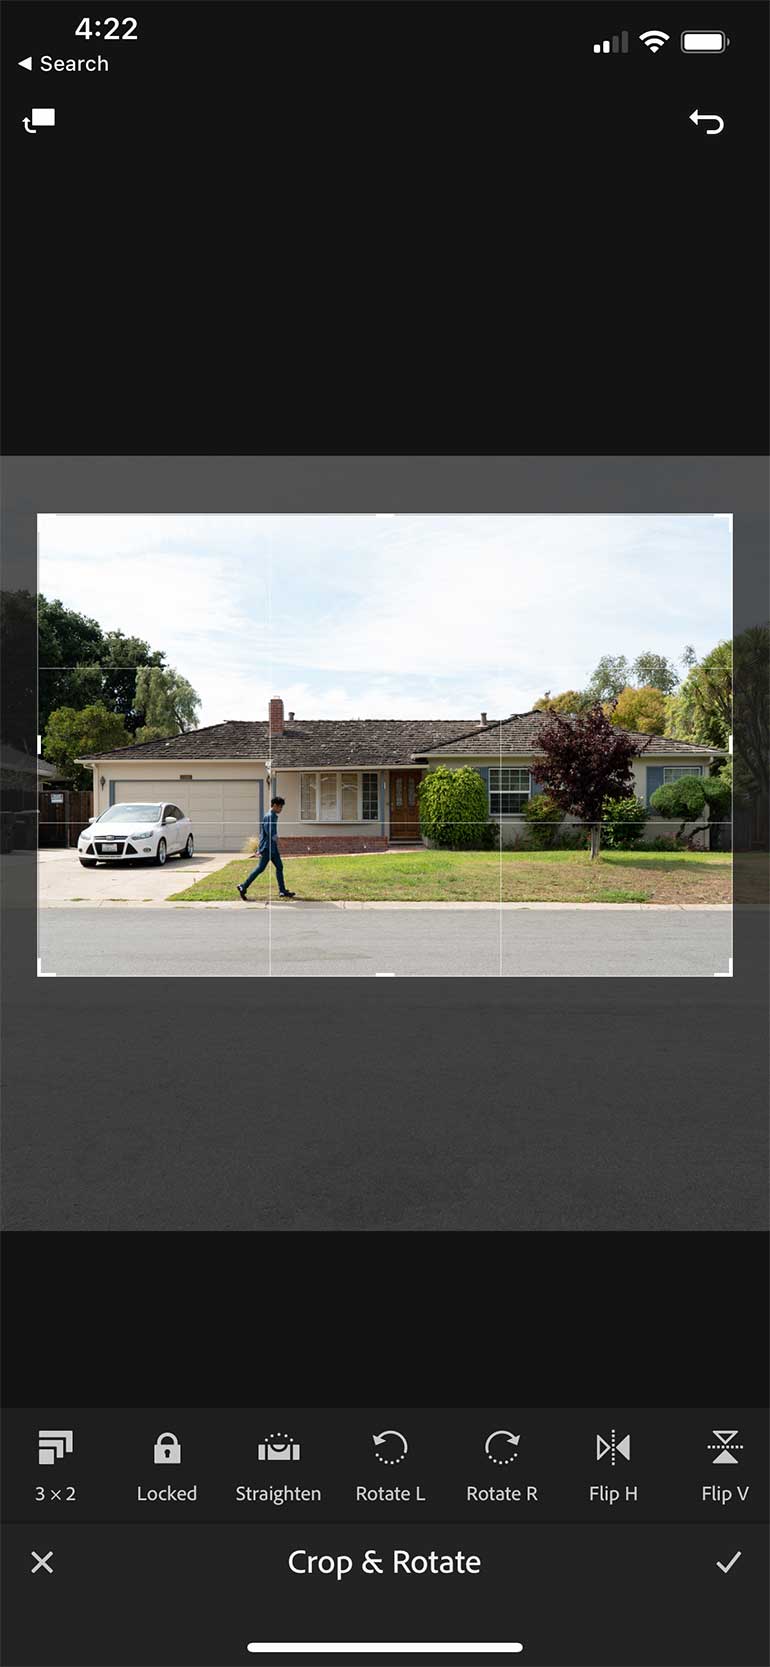
- Crop the Photo (Optional)
I don’t like the composition from the original photo, so I’ll start by first cropping the photo. Use the rule of thirds (3 x 3 grid) to guide you.
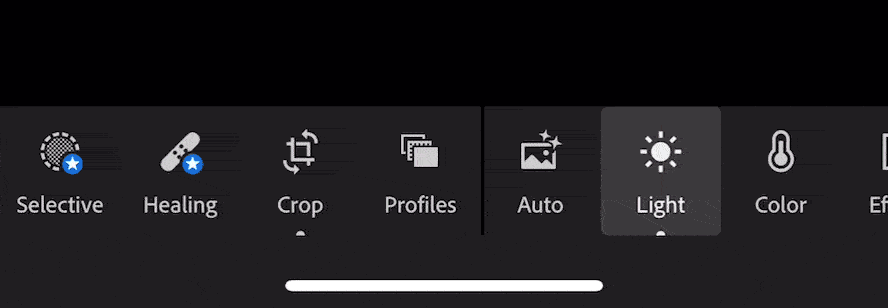
- Go to Light
Once you are happy with your photo, we can start our tutorial. Click on Light.
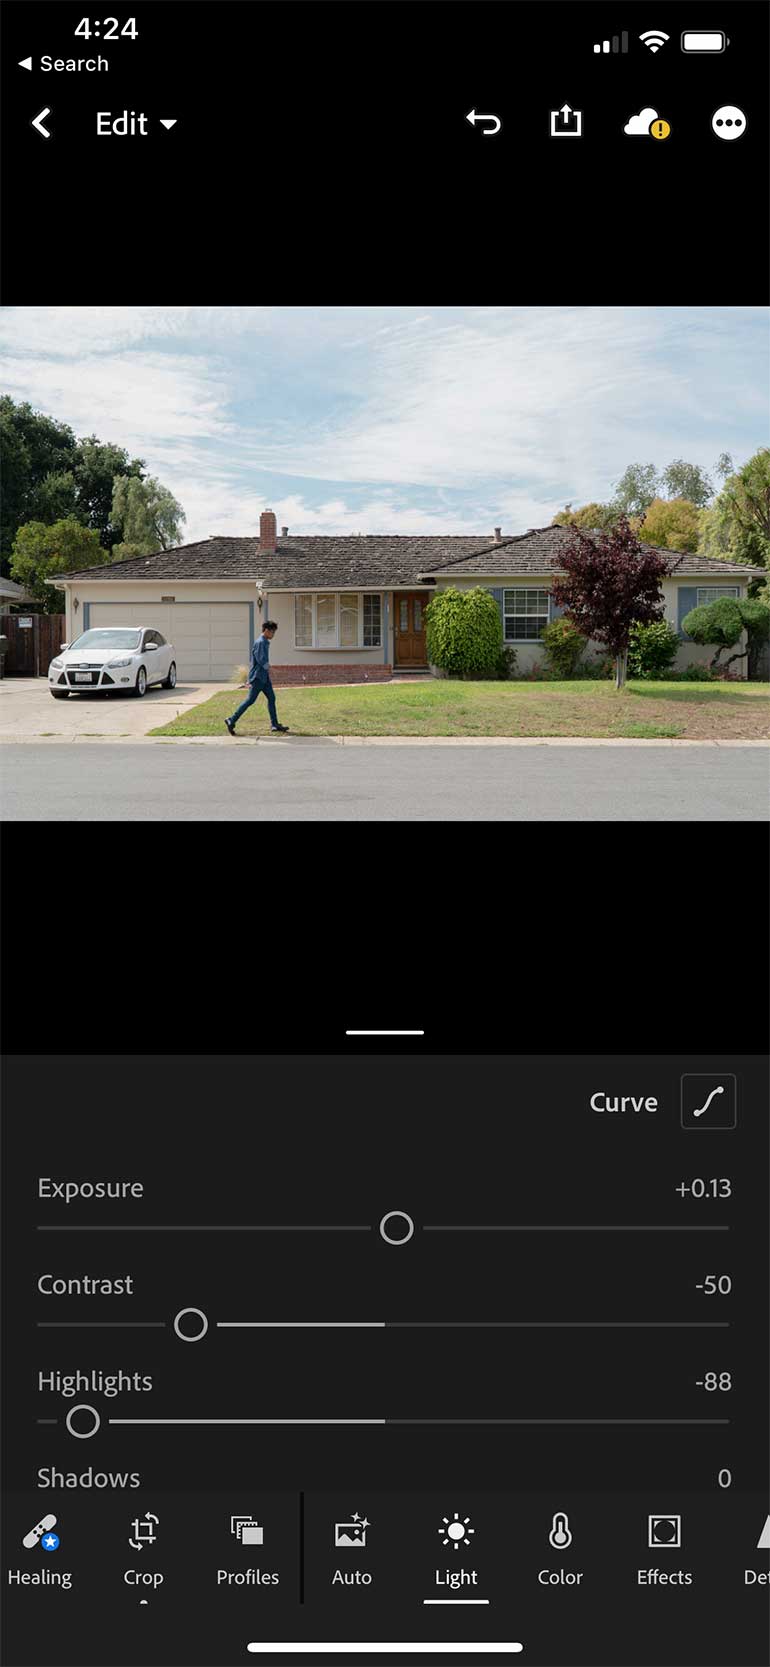
- Light (Adjustments)
Use the following adjustments. Exposure : + 13, Contrast – 50, and Highlights -88.
- Color (Adjustments)
Select the ‘Color’ Tab, and make the following adjustments. Temperature +20, Tint +12, Vibrance +74, Saturation +4.

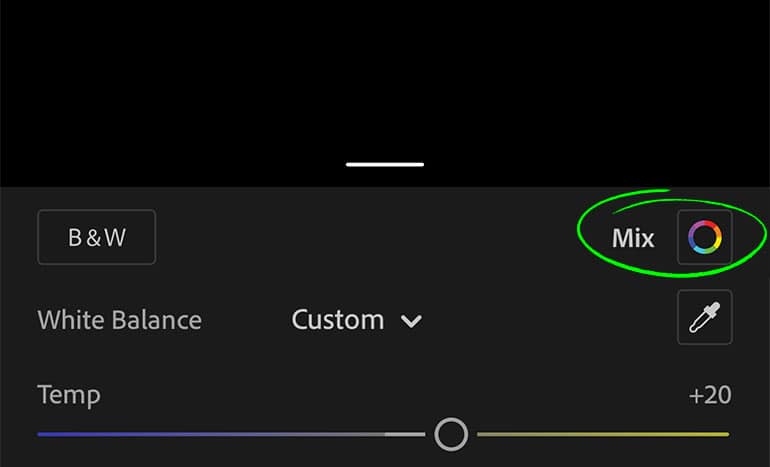
- Click ‘Mix’
On the same color tab, click on Mix. If you can’t see it, just scroll up, it’s there on the right corner.
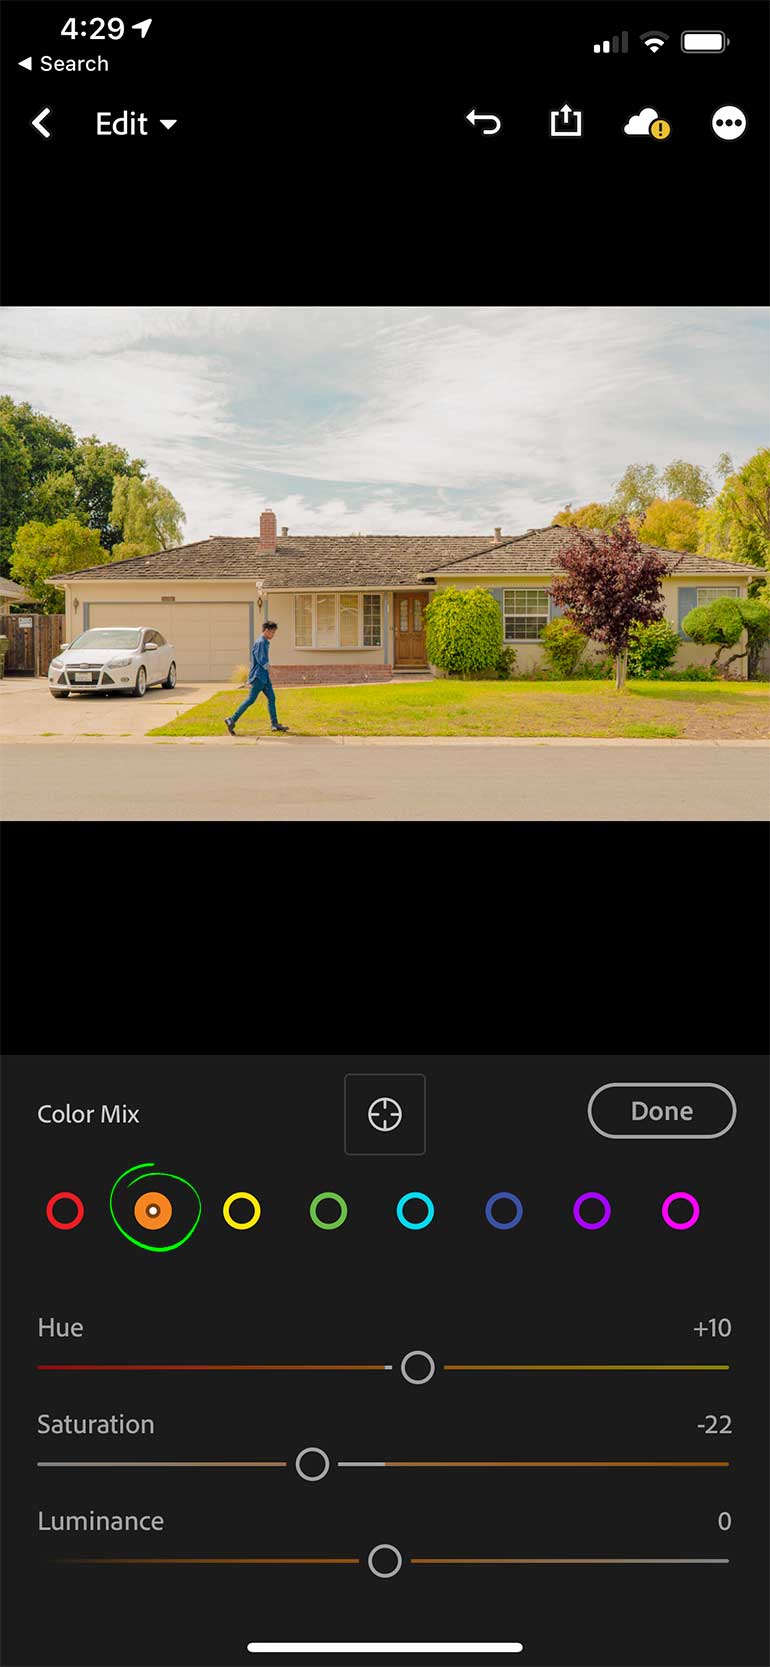
- Color Mixing time
Time to Mix some colors and bring that ‘old’ goodies. We want that teal and orange look. We are skipping ‘Red’. (Pay attention to the color tab and make these adjustments). Hue +10, Saturation -22.
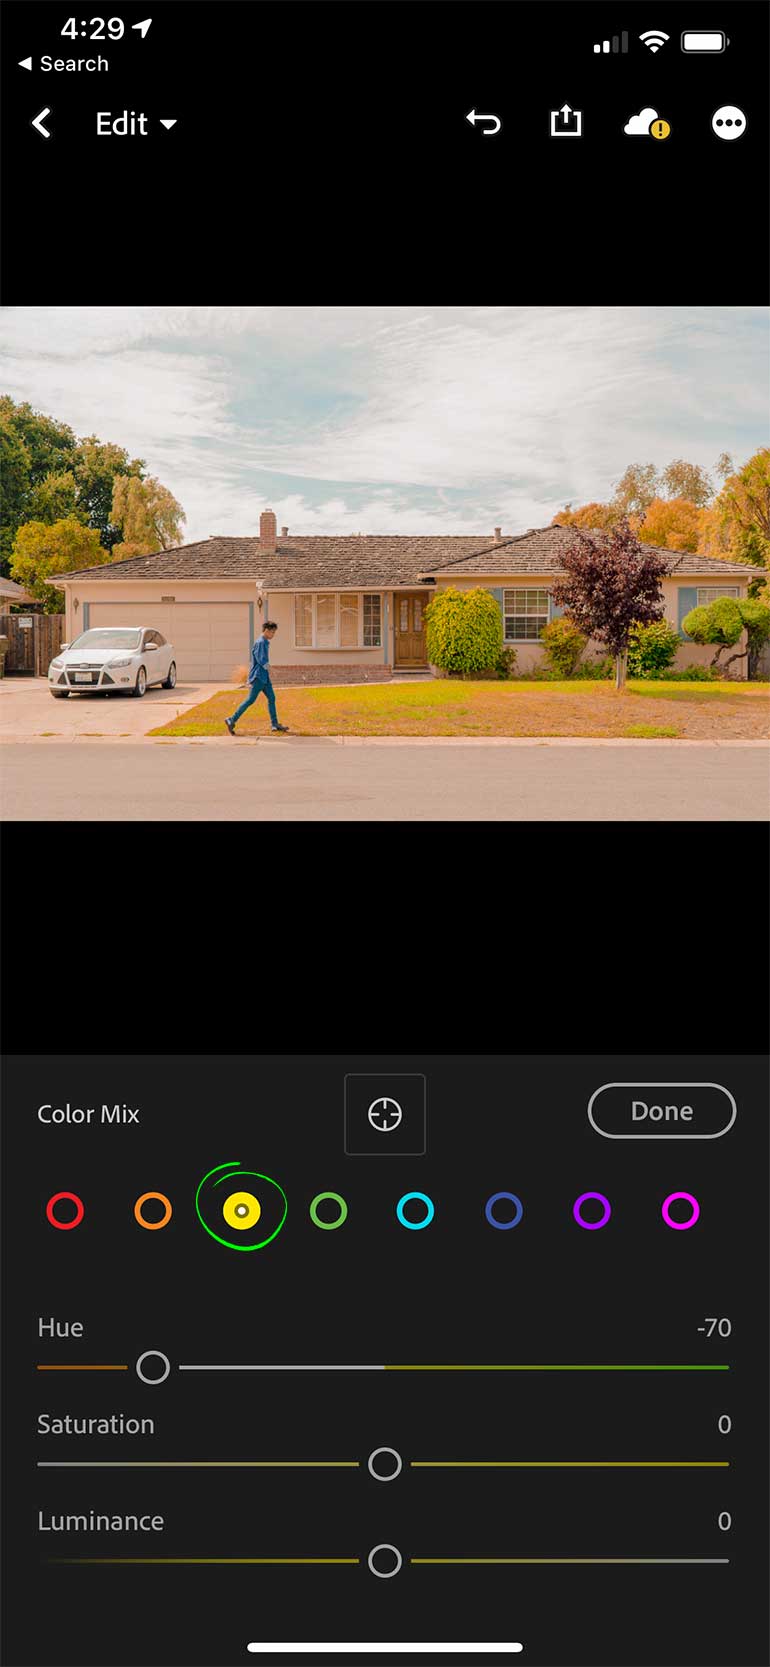
- Color Mix (Yellow)
Move on to the next color to adjust. Change the Hue to -70.
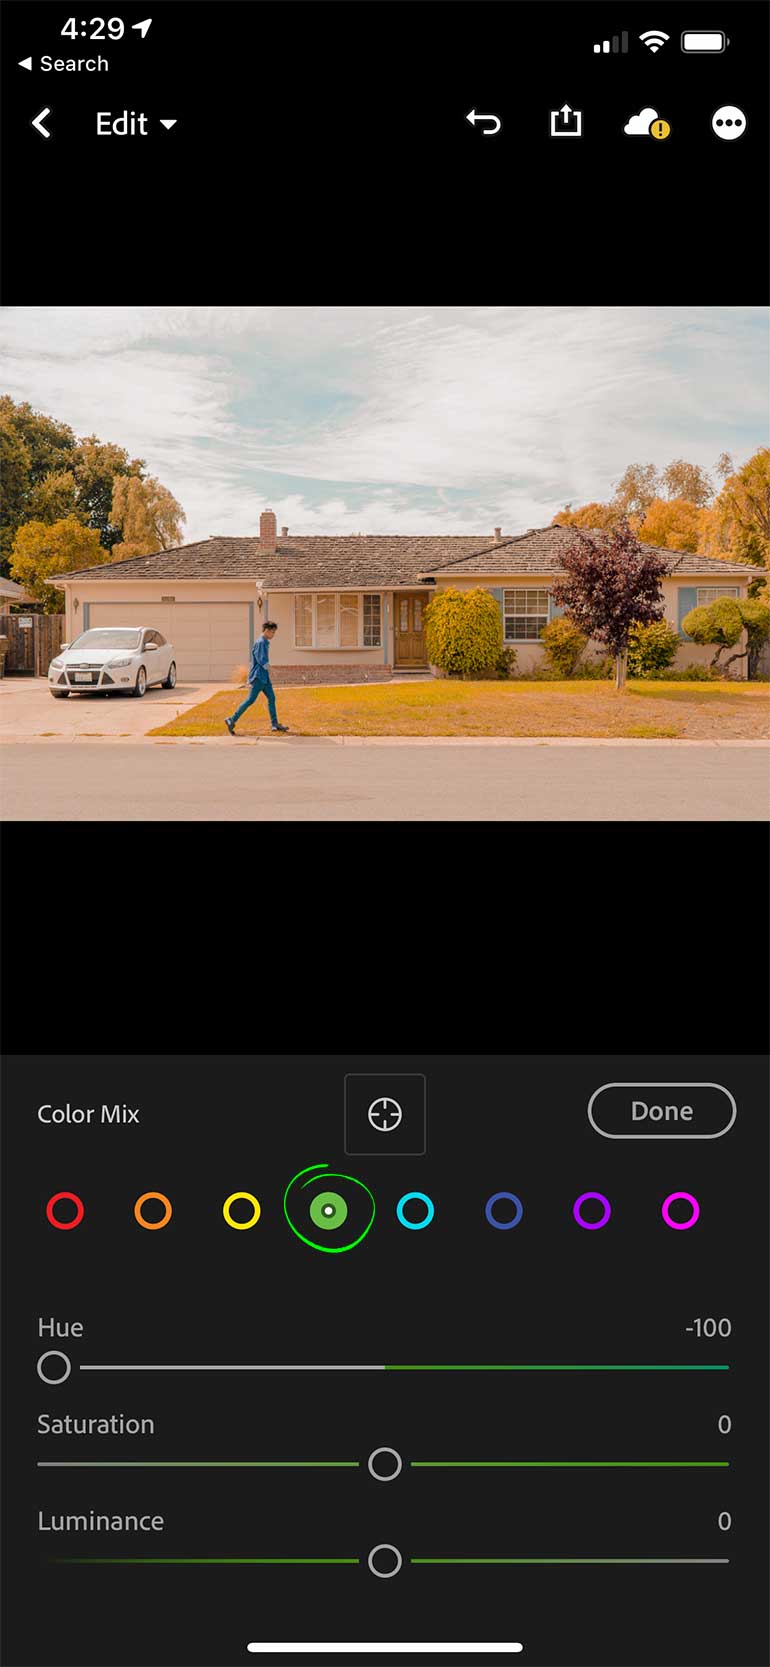
- Next Color Mix
For the next Color Mix. Change its Hue all the way to -100.
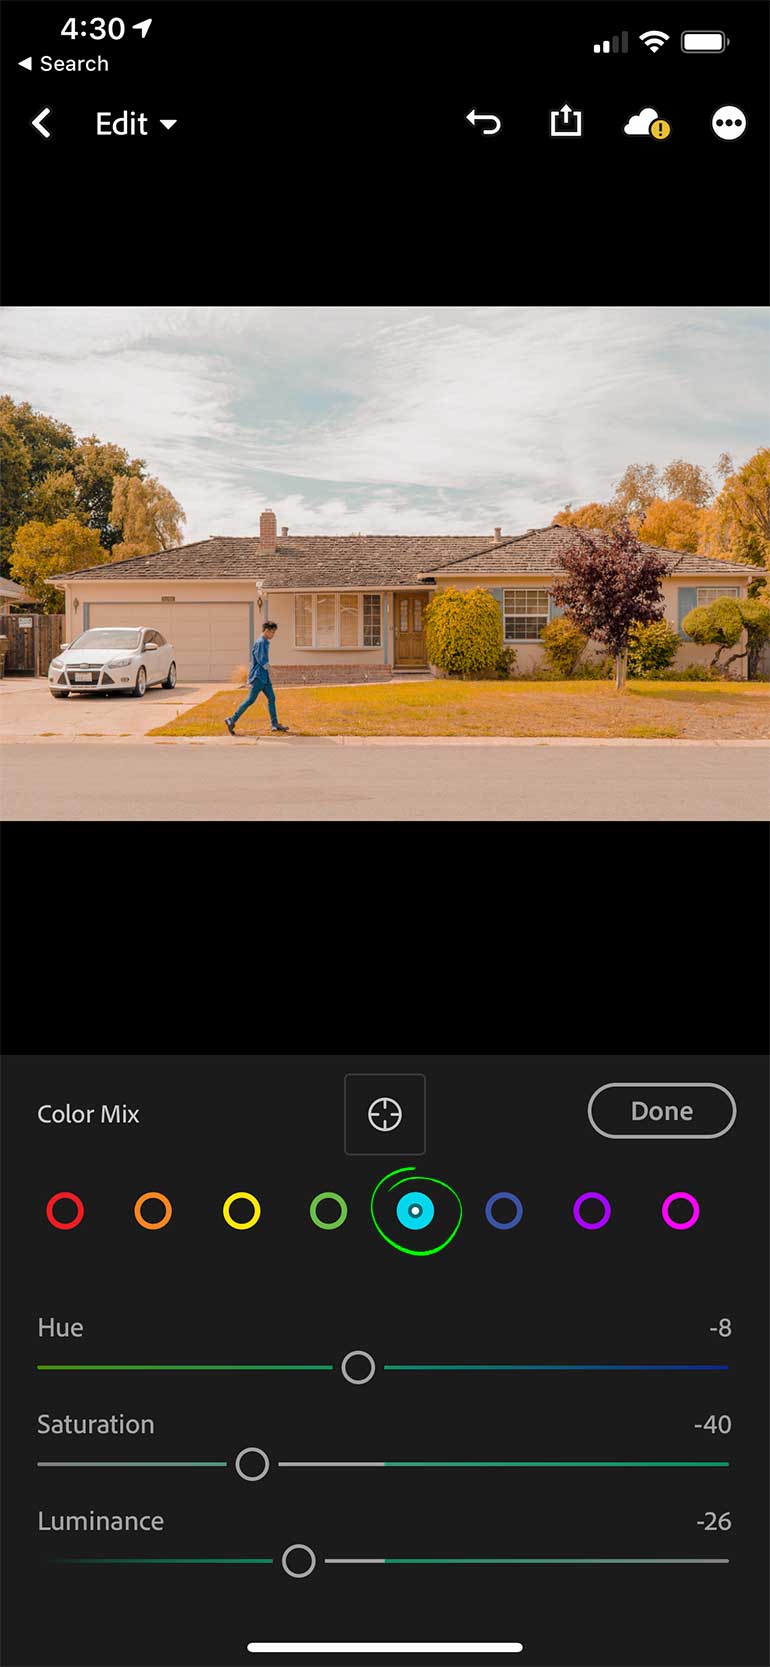
- Color Mix (Blue)
Change the Hue to -8, Saturation -40, and Luminance -26.
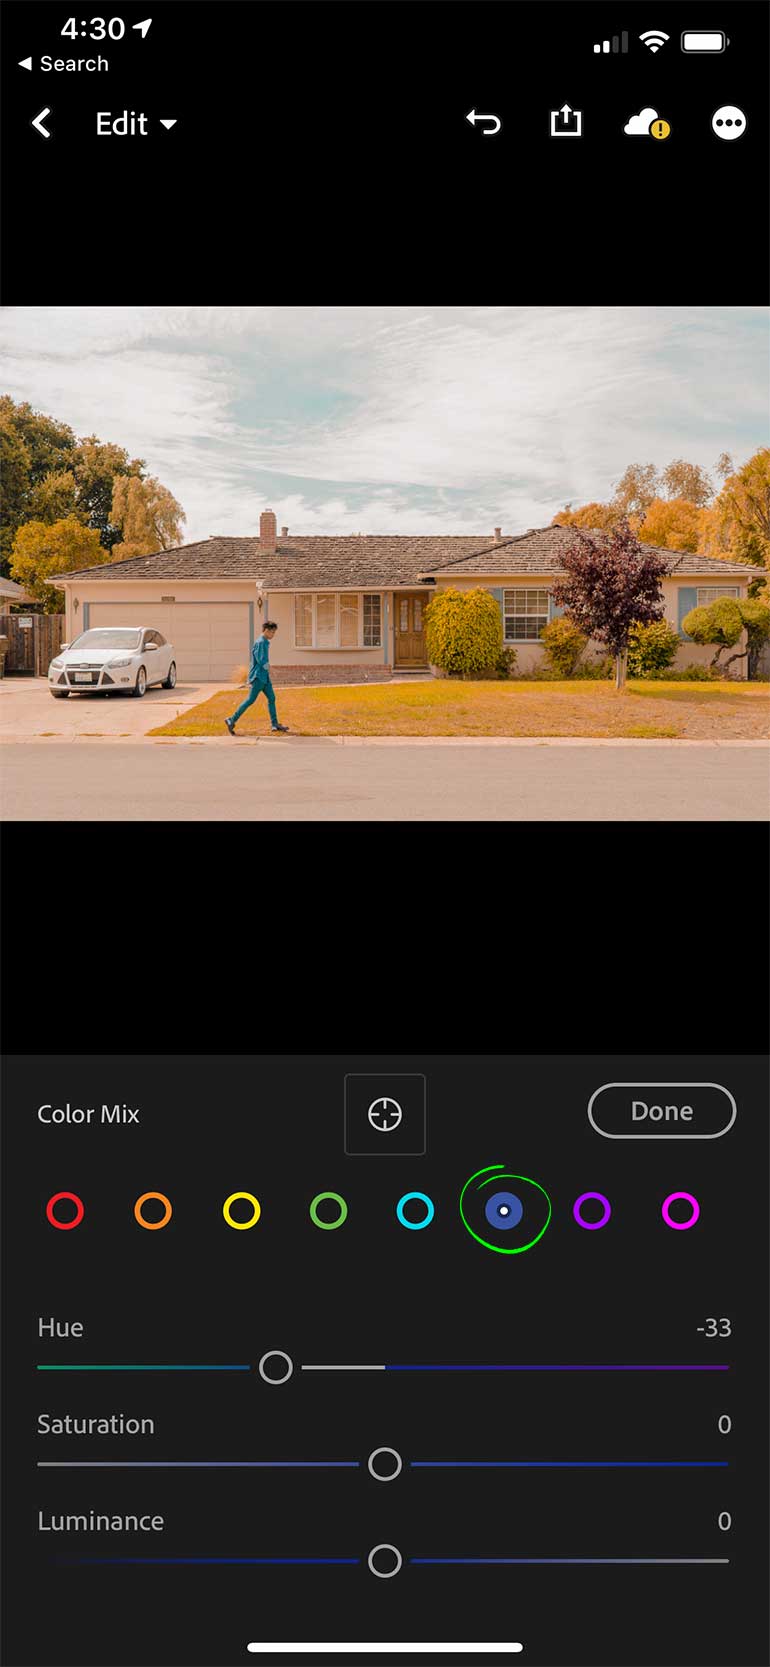
- Color Mix (Almost there)
Next, we are changing the Hue to -33.
- Color Mix (Last Color)
Skip to the last color, and slightly change the Hue to -10.

- Effects Settings
For the next step, we are going to adjust the effects settings, to bring up some clarity, and adding that beautiful grain. Go to Effects and make the following adjustments. Clarity +8 and Dehaze +18.
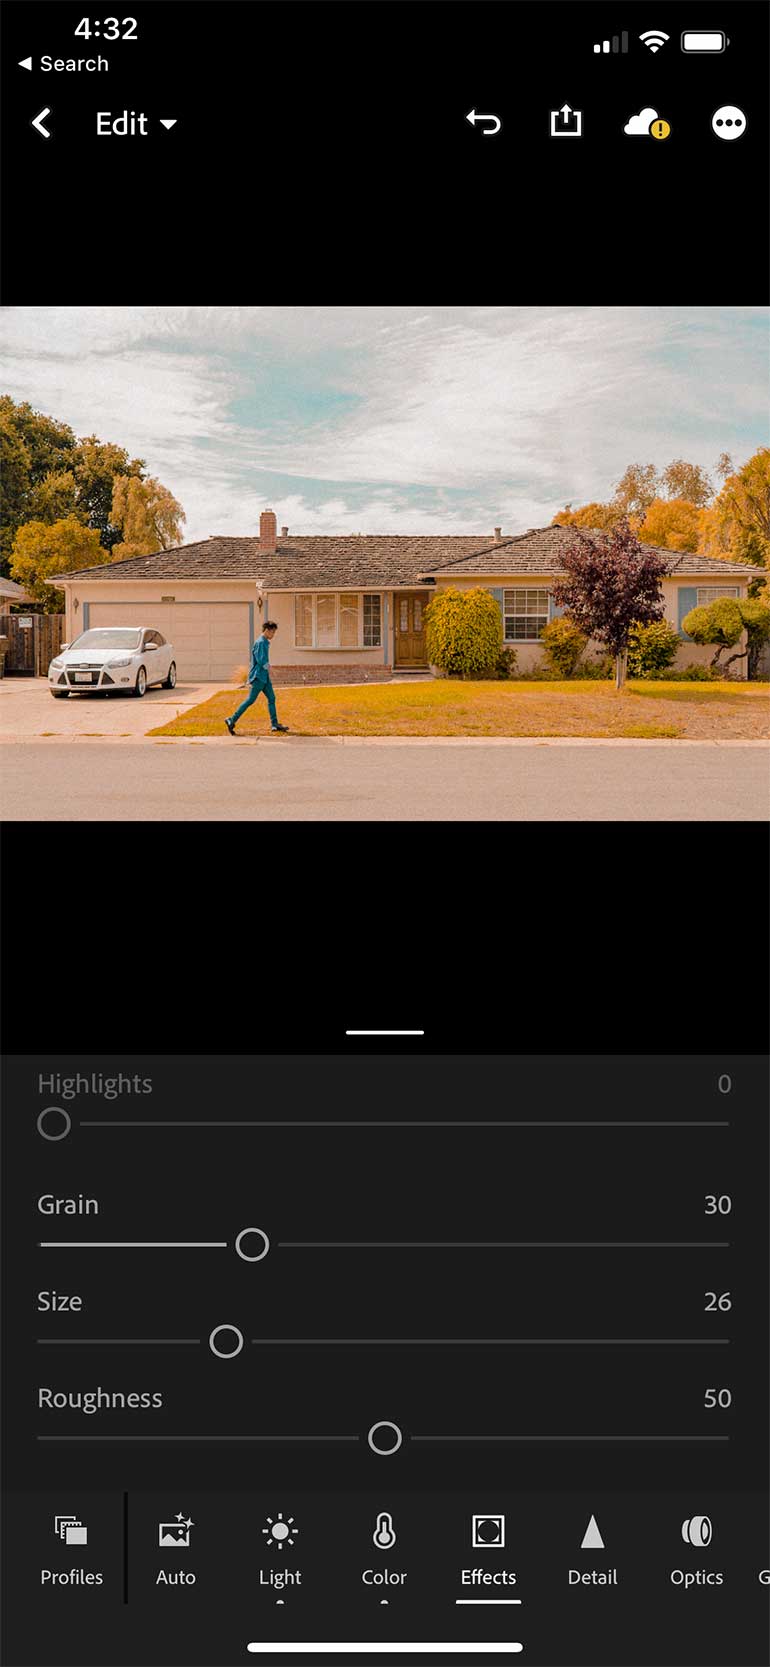
- Scroll Down (Add the Grain)
We are still in the effects settings, scroll down and add the grain to 30, and the size 26. You can bump up the grain more, but don’t go overboard.
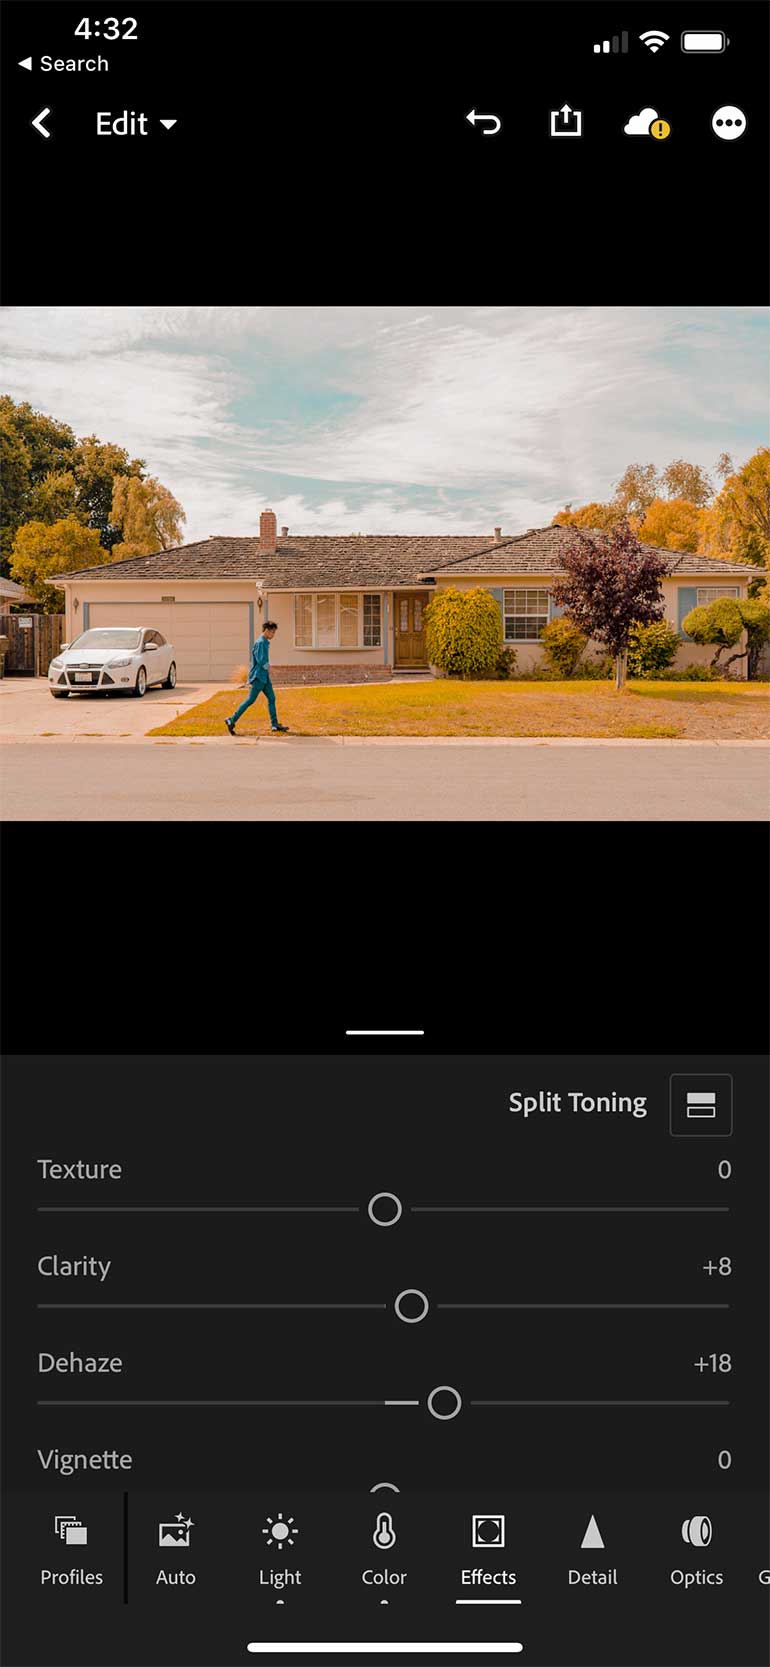
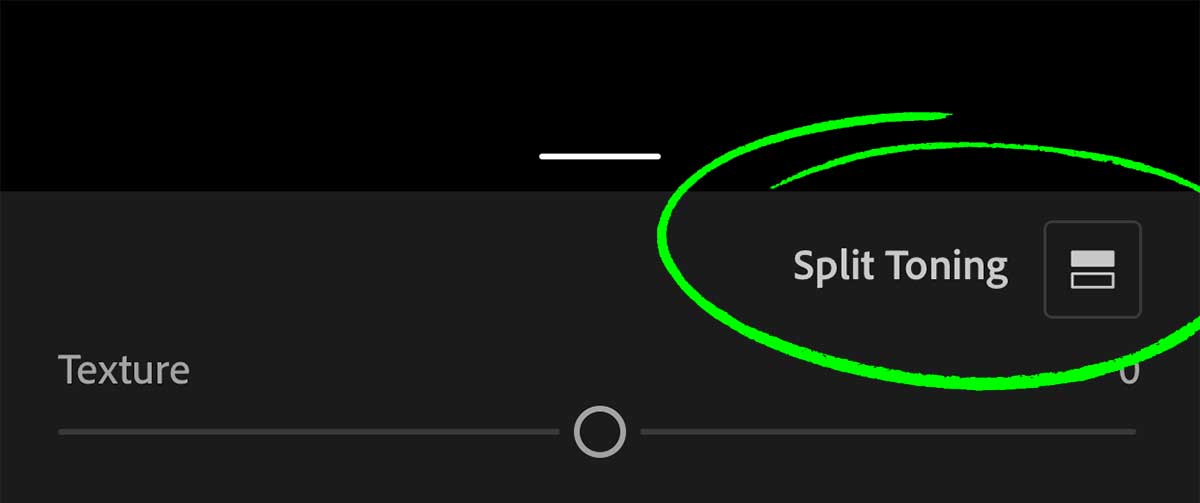
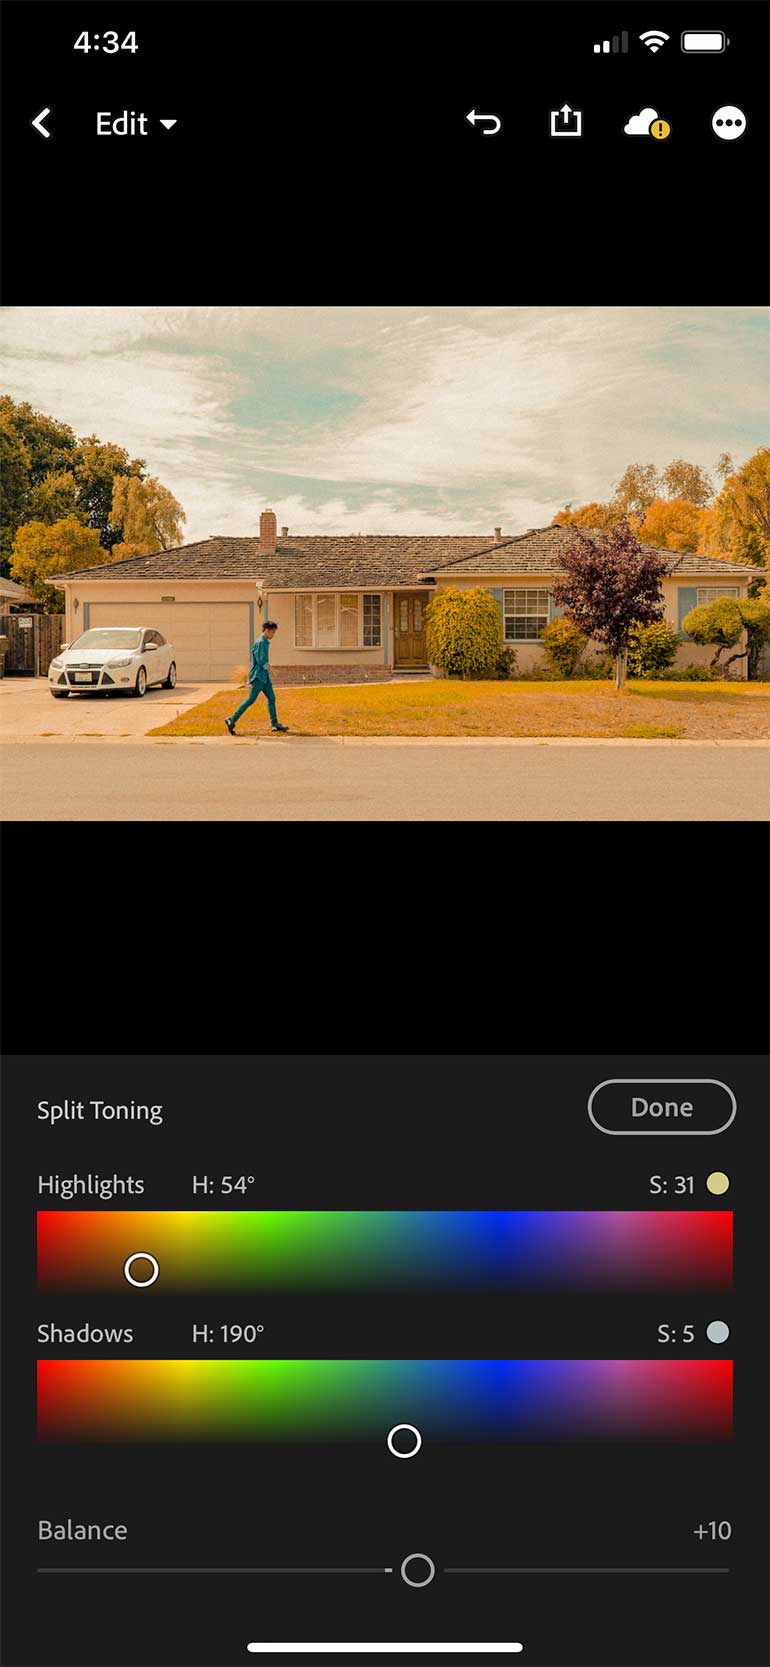
- Split Toning
In the ‘Effects’ tab, scroll up to the very top, and at the corner you will find ‘Split Toning’. It’s hard to miss. Click on it!
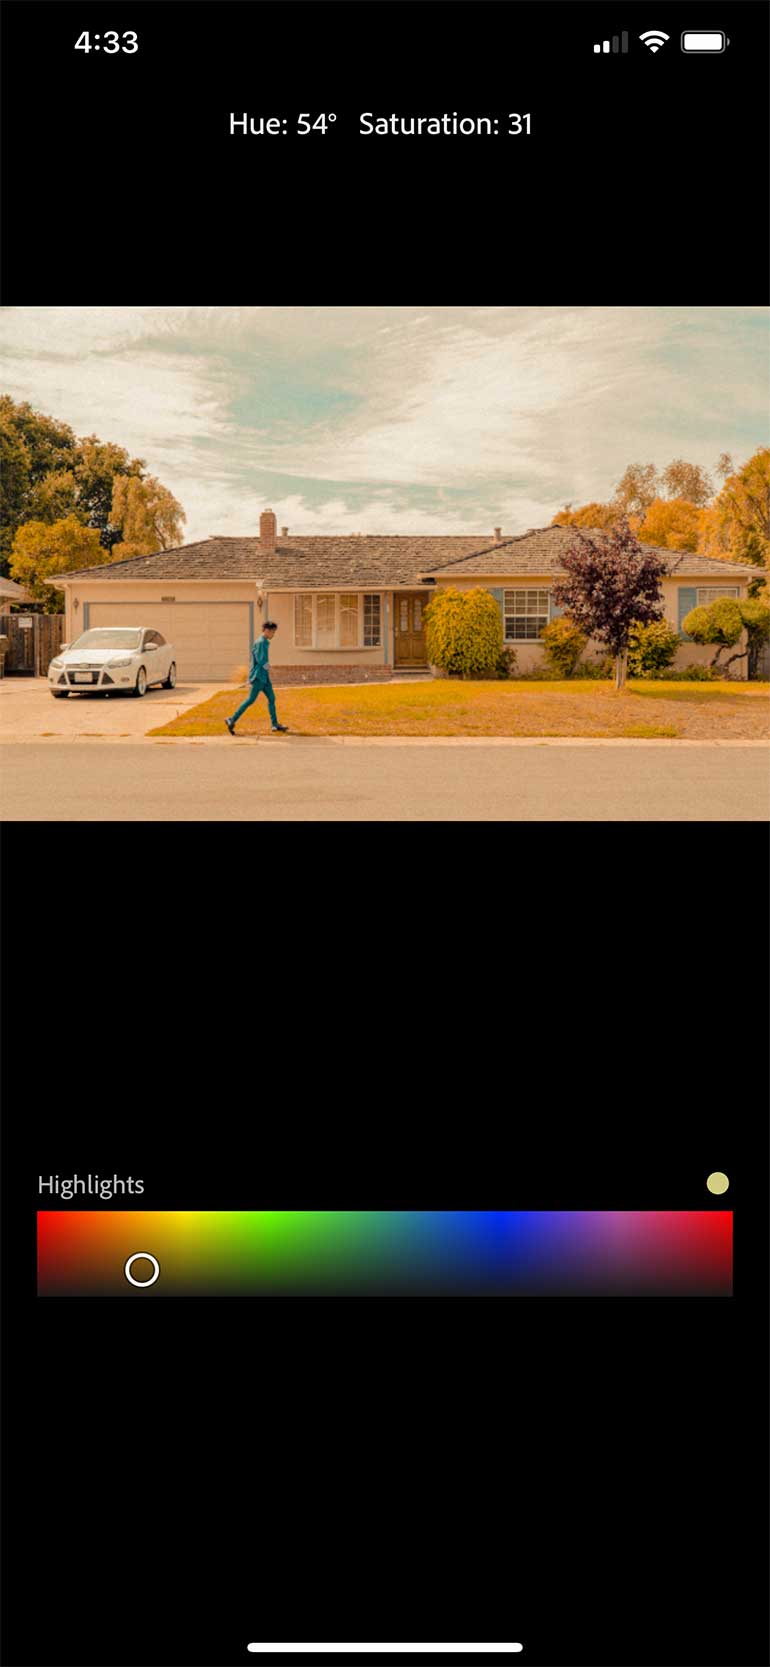
- Split Toning Highlights
This adjustment may differ, you don’t have to get it exactly as in this tutorial, but anything close would give you similar results.
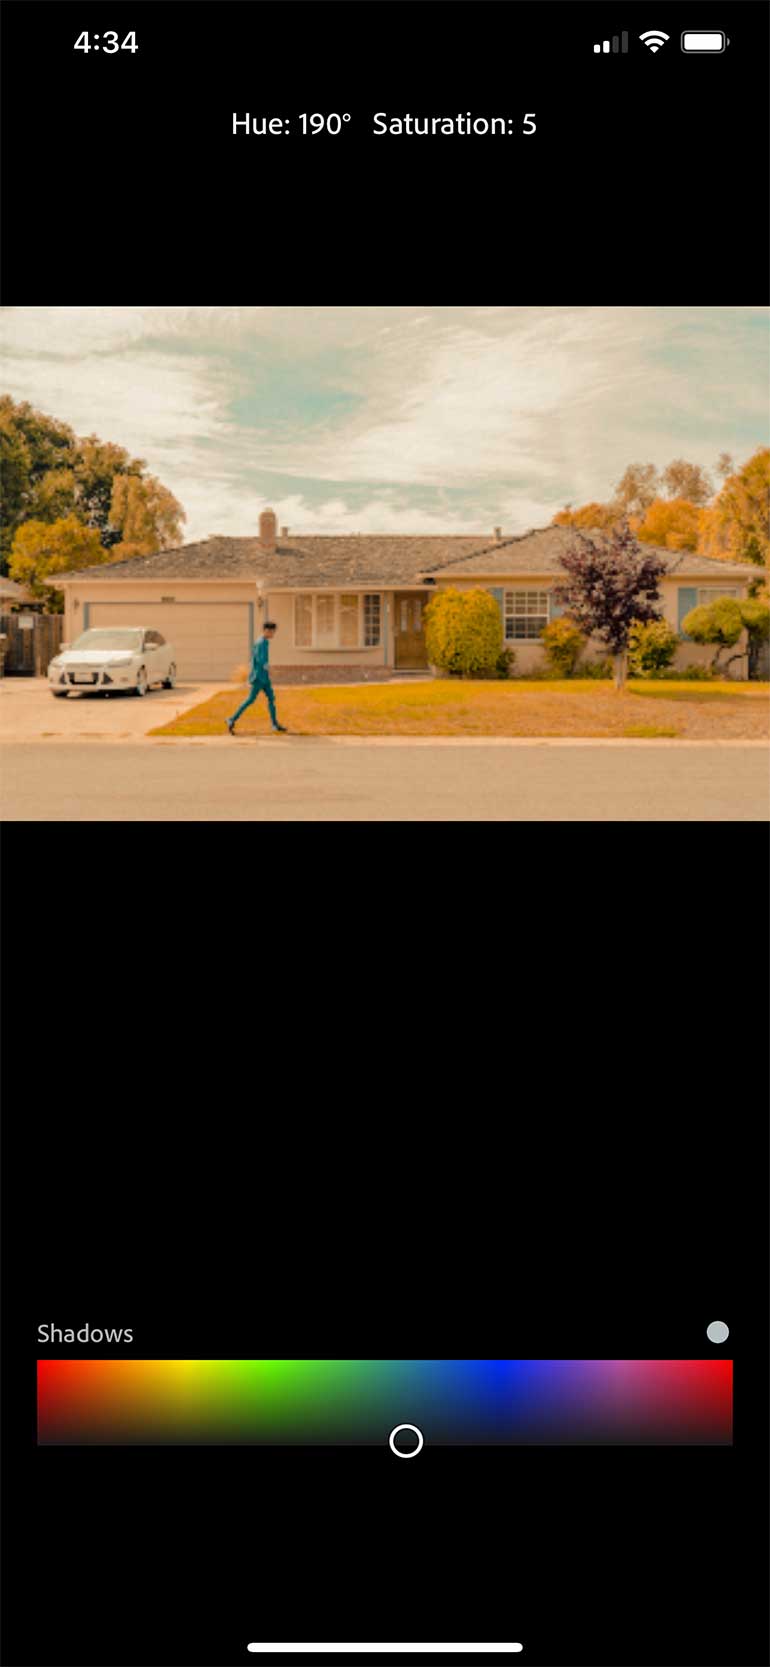
- Split Toning Shadows
Set the adjustments accordingly. In most cases anything right in the lower center would do the job.
- Split Toning Balance
Give it a balance. Make the following adjustments and set the balance to +10.
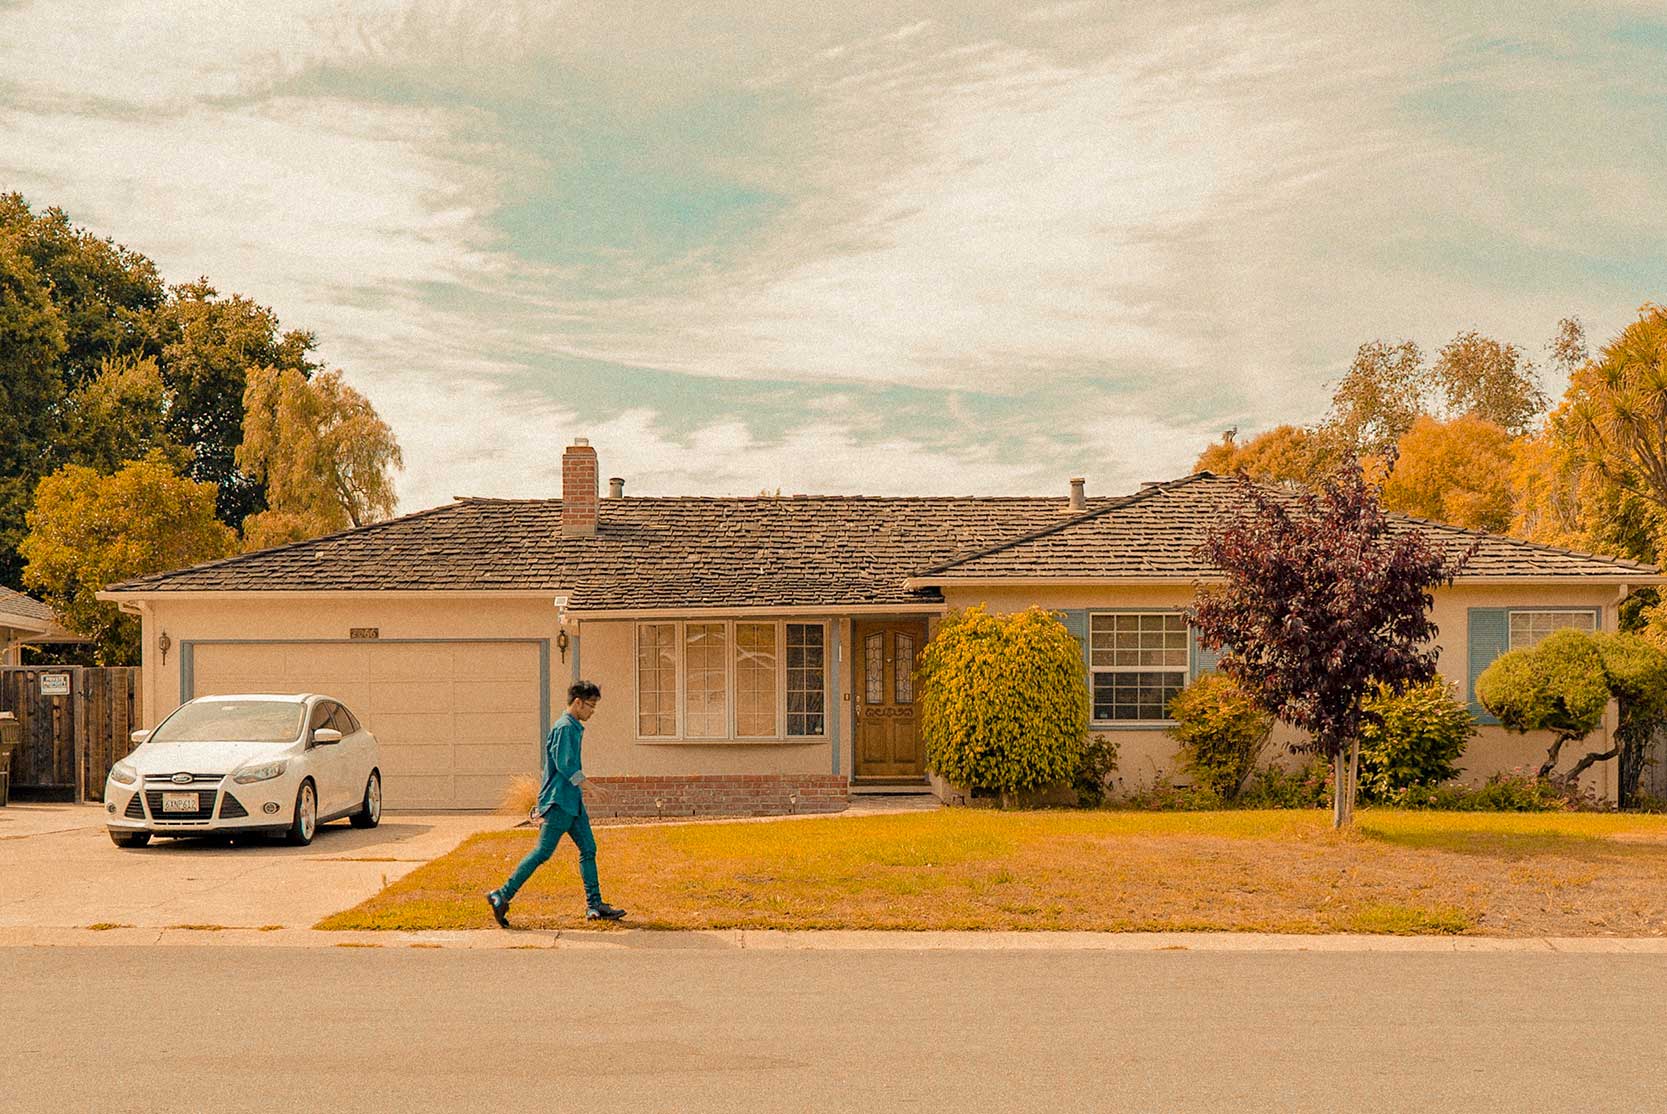
- Looking good!… but
I think we have successfully achieved that familiar ‘Kodak’ Film look. I’m not quite happy yet because for some reasons, I feel that the clouds are a bit distracting. It would have made a better photo if we don’t have them.
- Removing the Cloud (Clone Tool)
I am only using this photo for my Instagram and not printing it out on a huge billboard, so to make it simple I will be using the Clone Stamp tool on Photoshop.
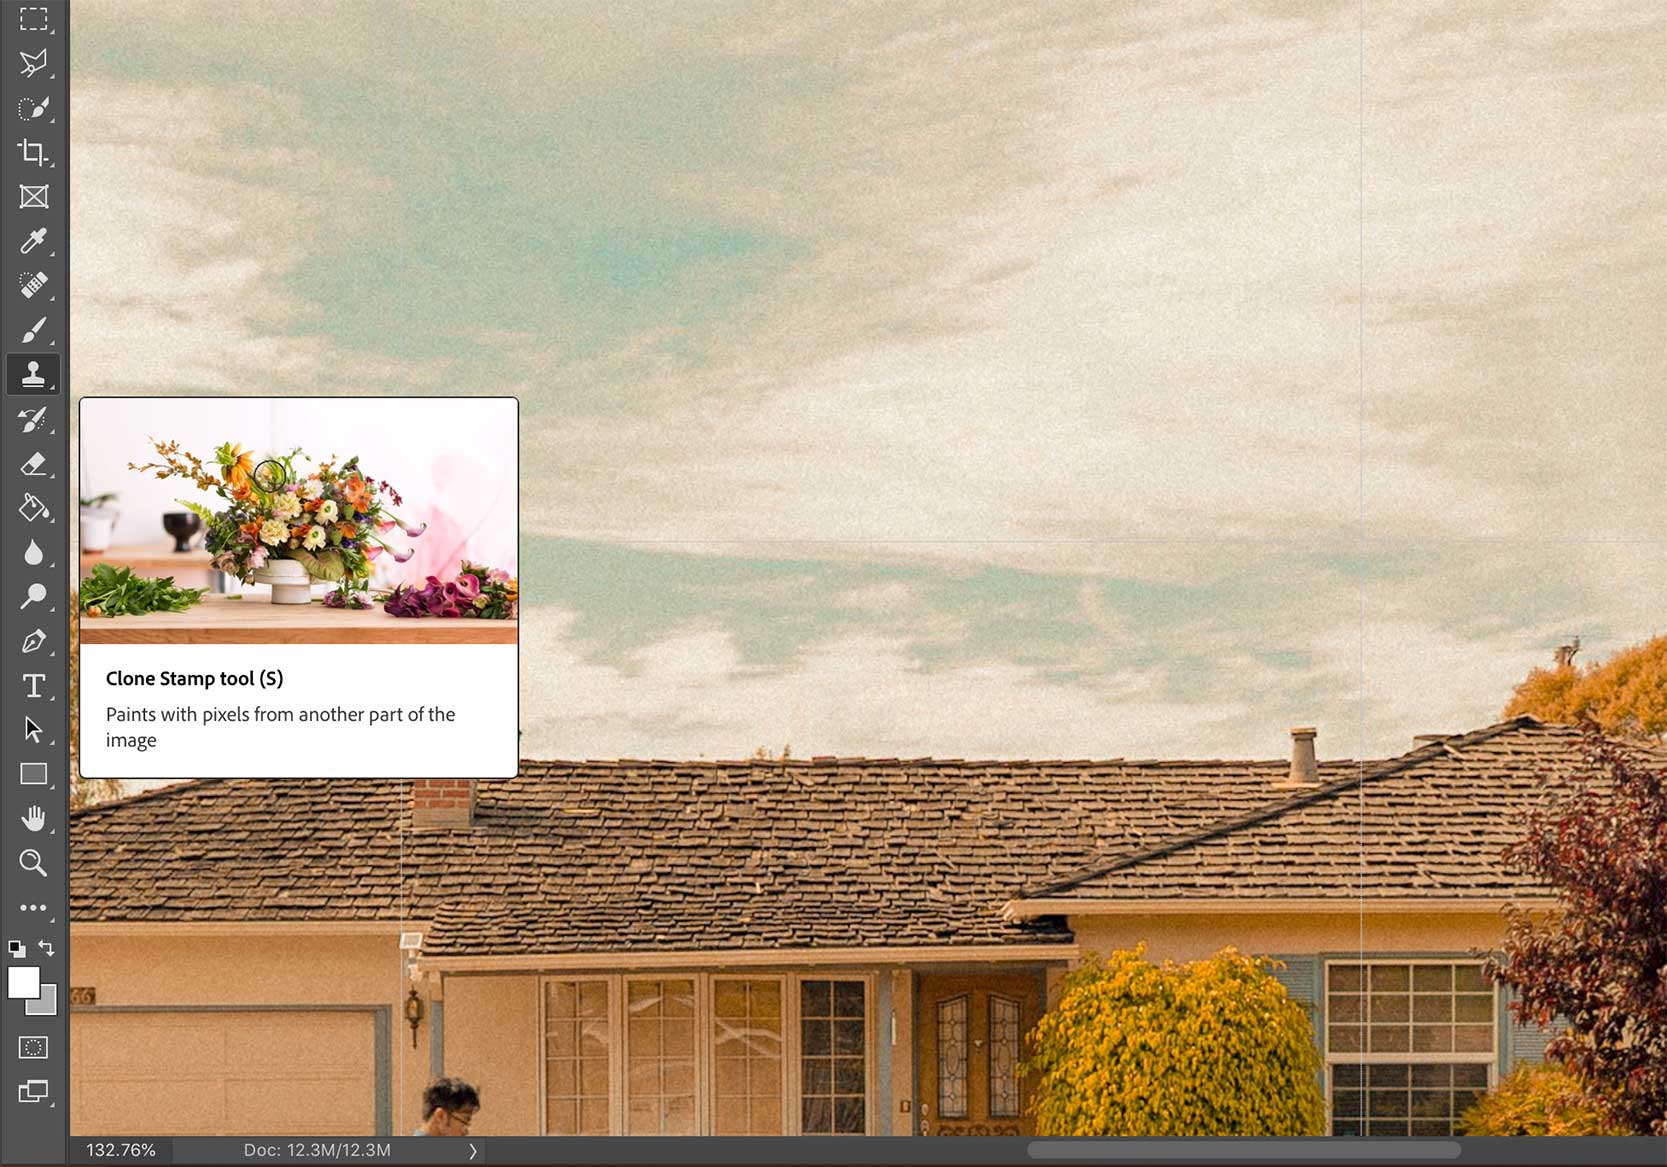
- Voila! That’s better.
This looks a lot better in my opinion. I guess what you really want is a photo without a lot of details, since you are going to increase the clarity in Lightroom.
Notes
Not all photos are the same. So you’ll have to slightly make the adjustments accordingly. If it seems overexposed, adjust the exposure, if the details are too much, decrease the clarity. You are in control. Good luck!
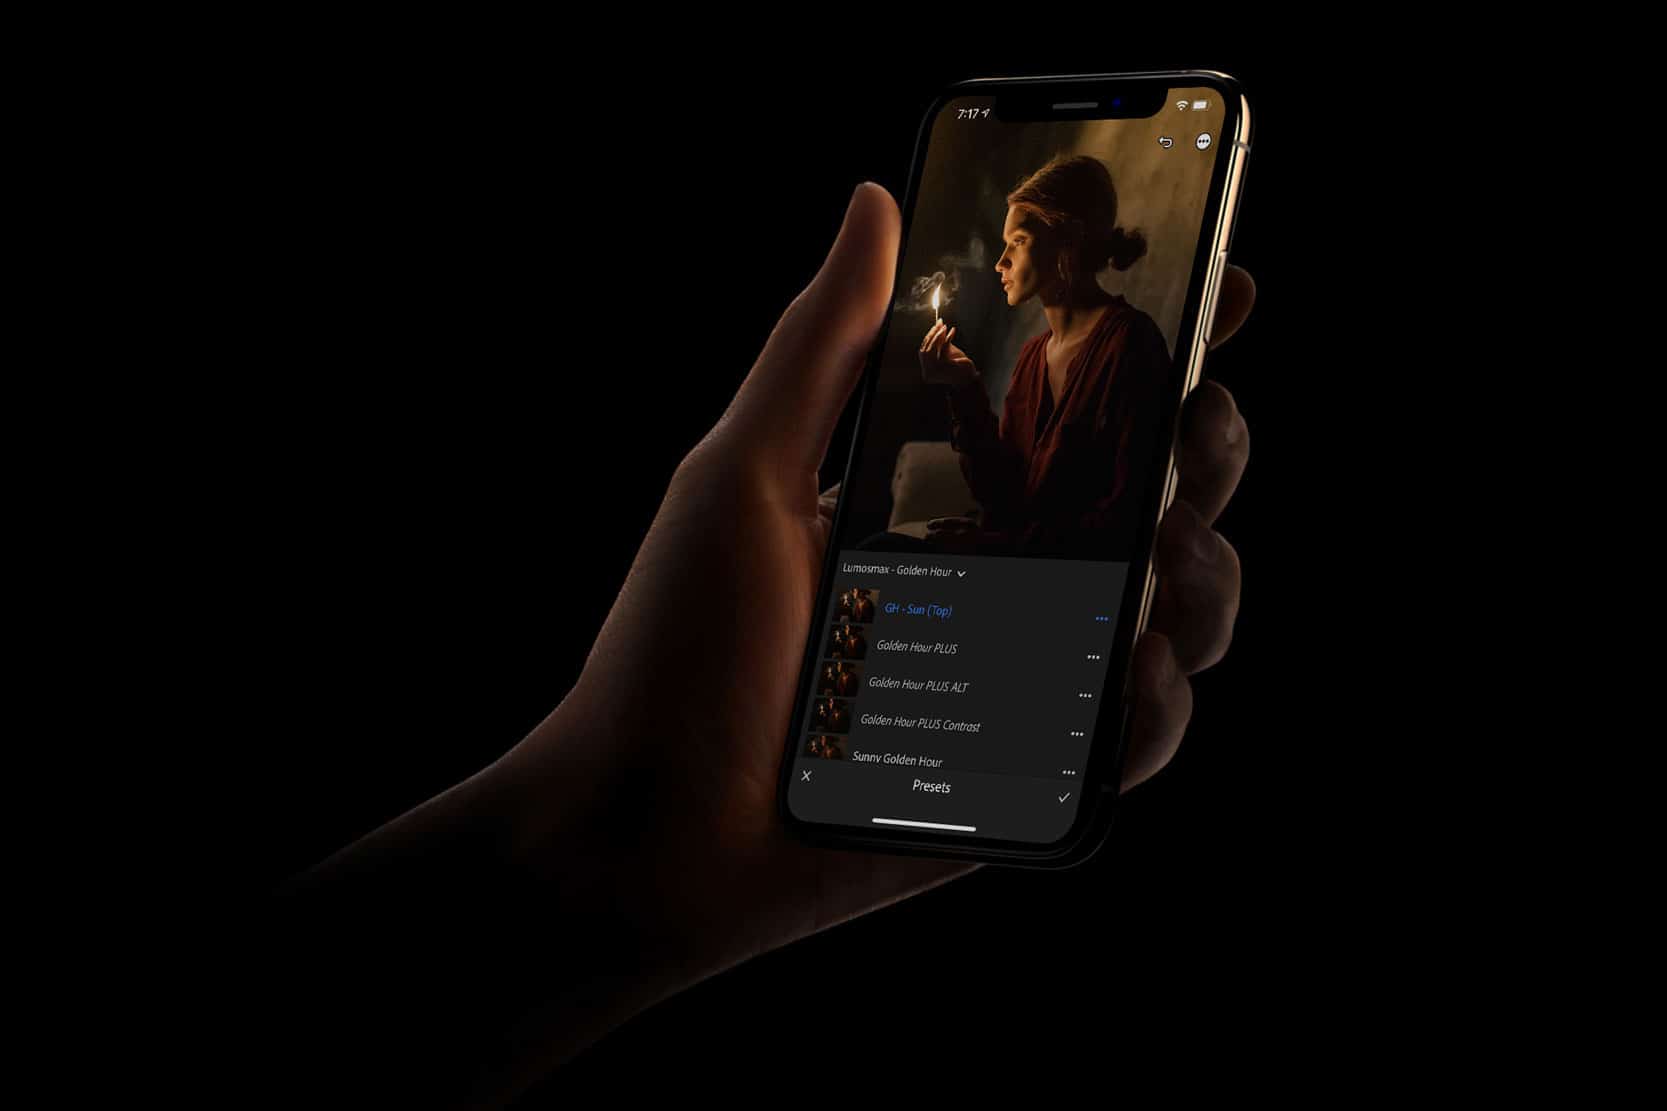
Presets Pack
Needless to mention, do check out our flagship film presets in our online store. Analog Ragnarok makes it very easy for anyone to edit beautiful photos as if they were taken with a film camera. 😉
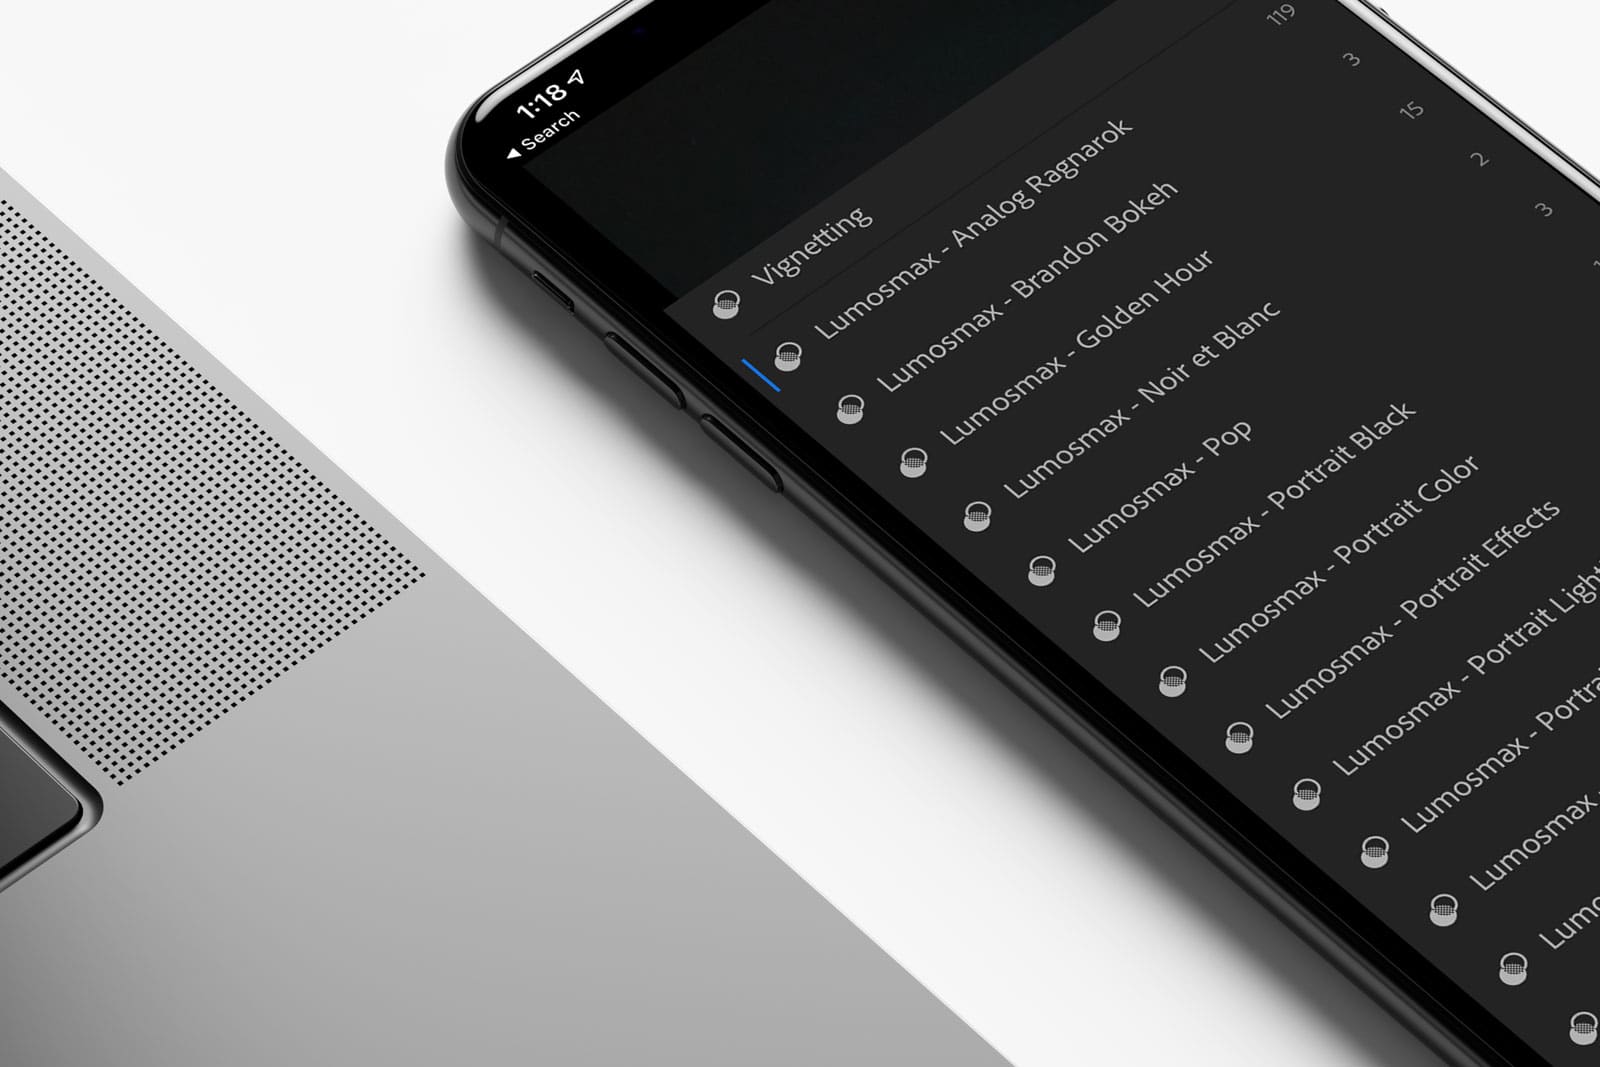
Analog Film Lightroom Presets
Includes over 100 VSCO Inspired Analog Film Lightroom Presets developed to reproduce the aesthetics of vintage cameras. Remember the good ol’ days? Kodak film, Agfa Vista, Portra film, Fujifilm; choose your favourite and start creating photos as if they were shot during those times.
Share your work in the comment section, we would love to see them. Tag us on Instagram @lumosmaxpro, we do read your comments.