There are only a few modern photography styles that have caught attention over the past a decade. One of them is Light and Airy Photography.
Let’s discuss about the whole idea. What is so special about this light and airy thing? Why are photographers so obsessed with it? Light and Airy photography remains the best choice for wedding photography, and sometimes travel photography.
A Simple Equation. Bright = Better.
Bright photos are easy to understand. Not to be confused with ‘Overexposure’, bright photos tend to look better. Especially when you deal with printing, they always look better once they are printed out.
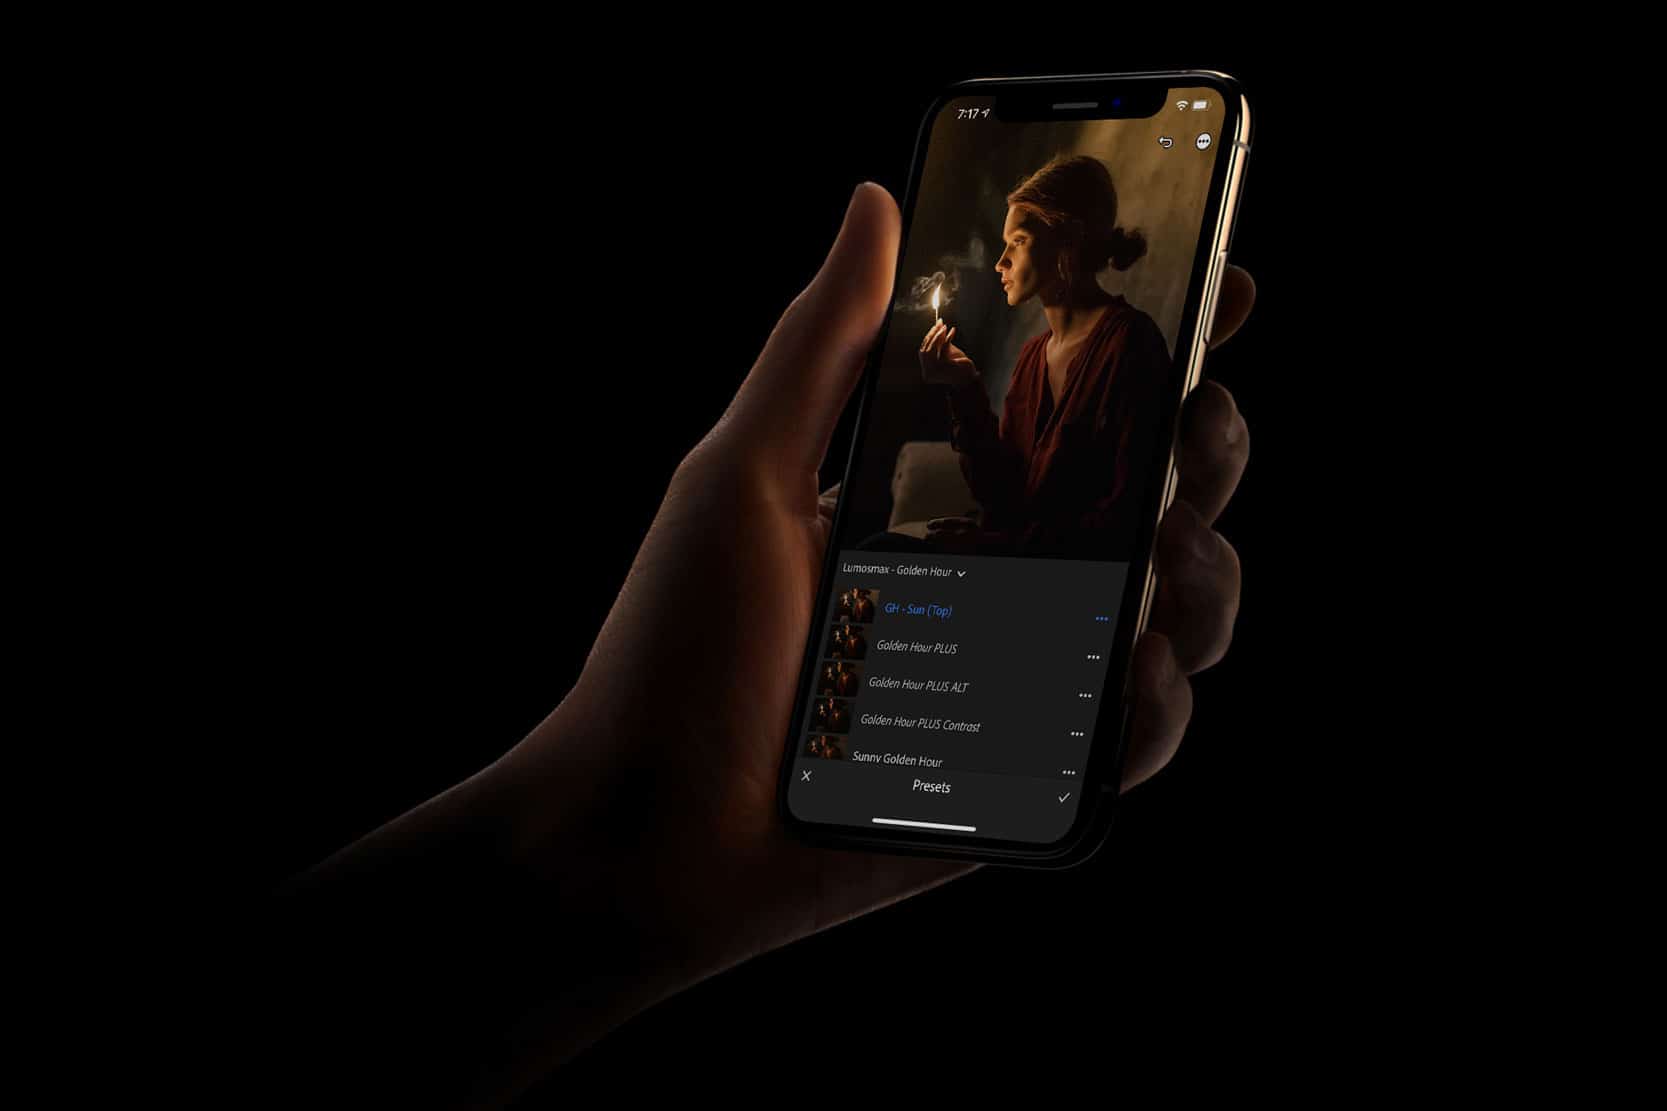
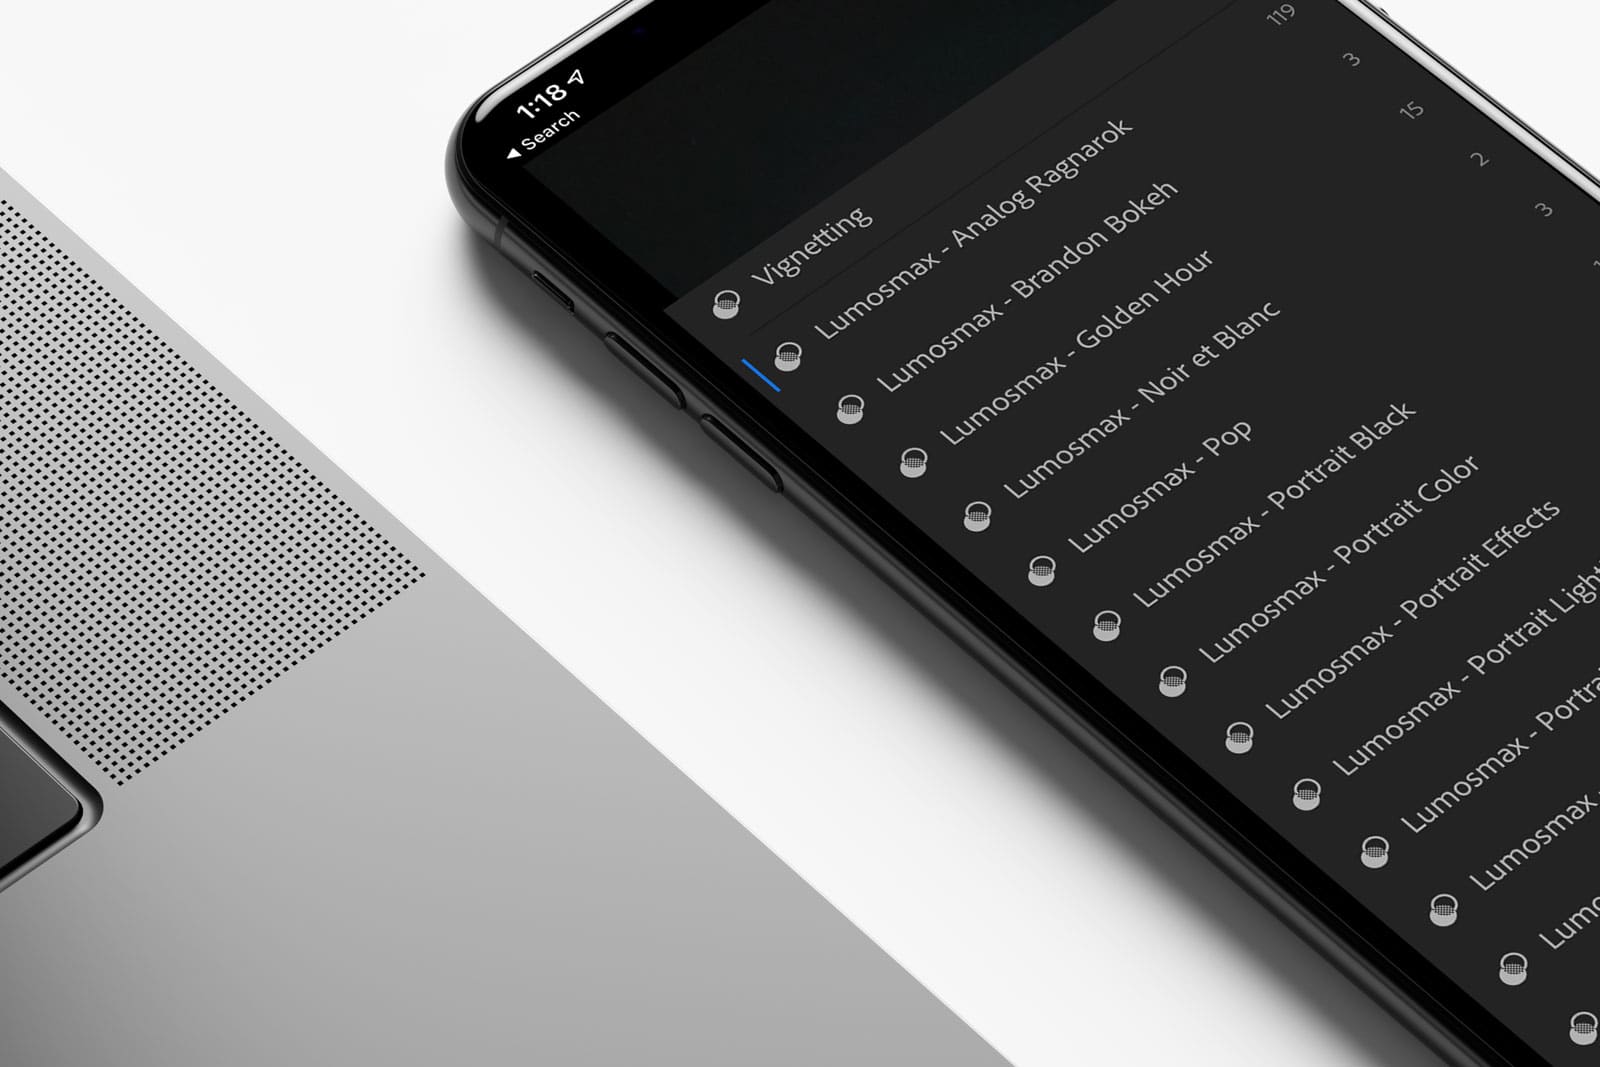
Light and Airy Presets
Get our Lumosmax Wedding Presets collection for Lightroom. One of the highest rated wedding presets collection over the past 12 months.
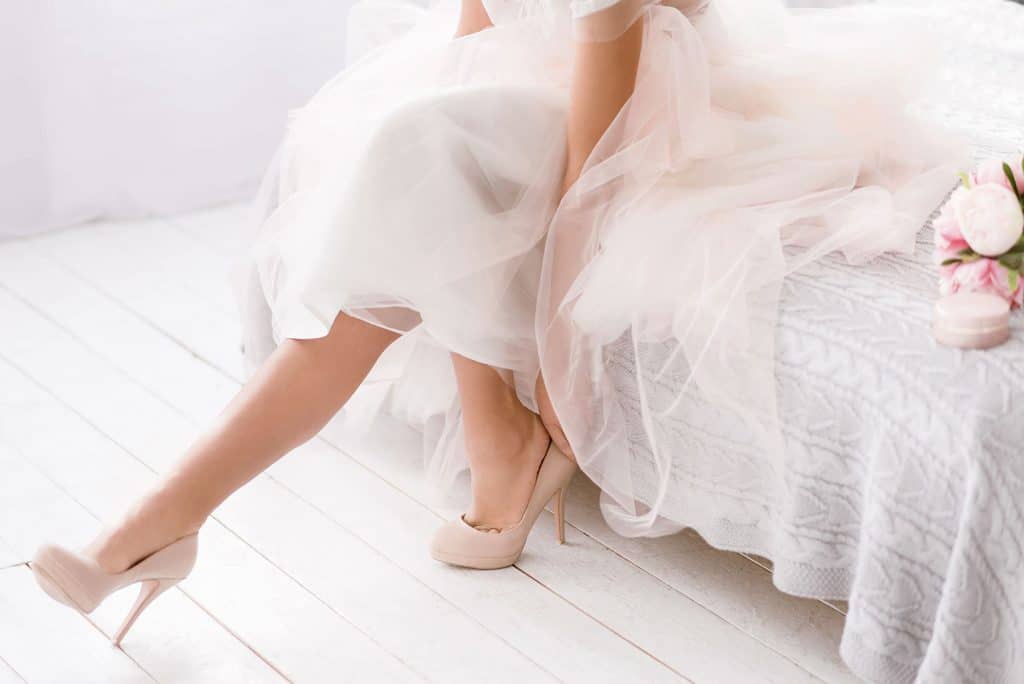
An Example of a Light and Airy Photo

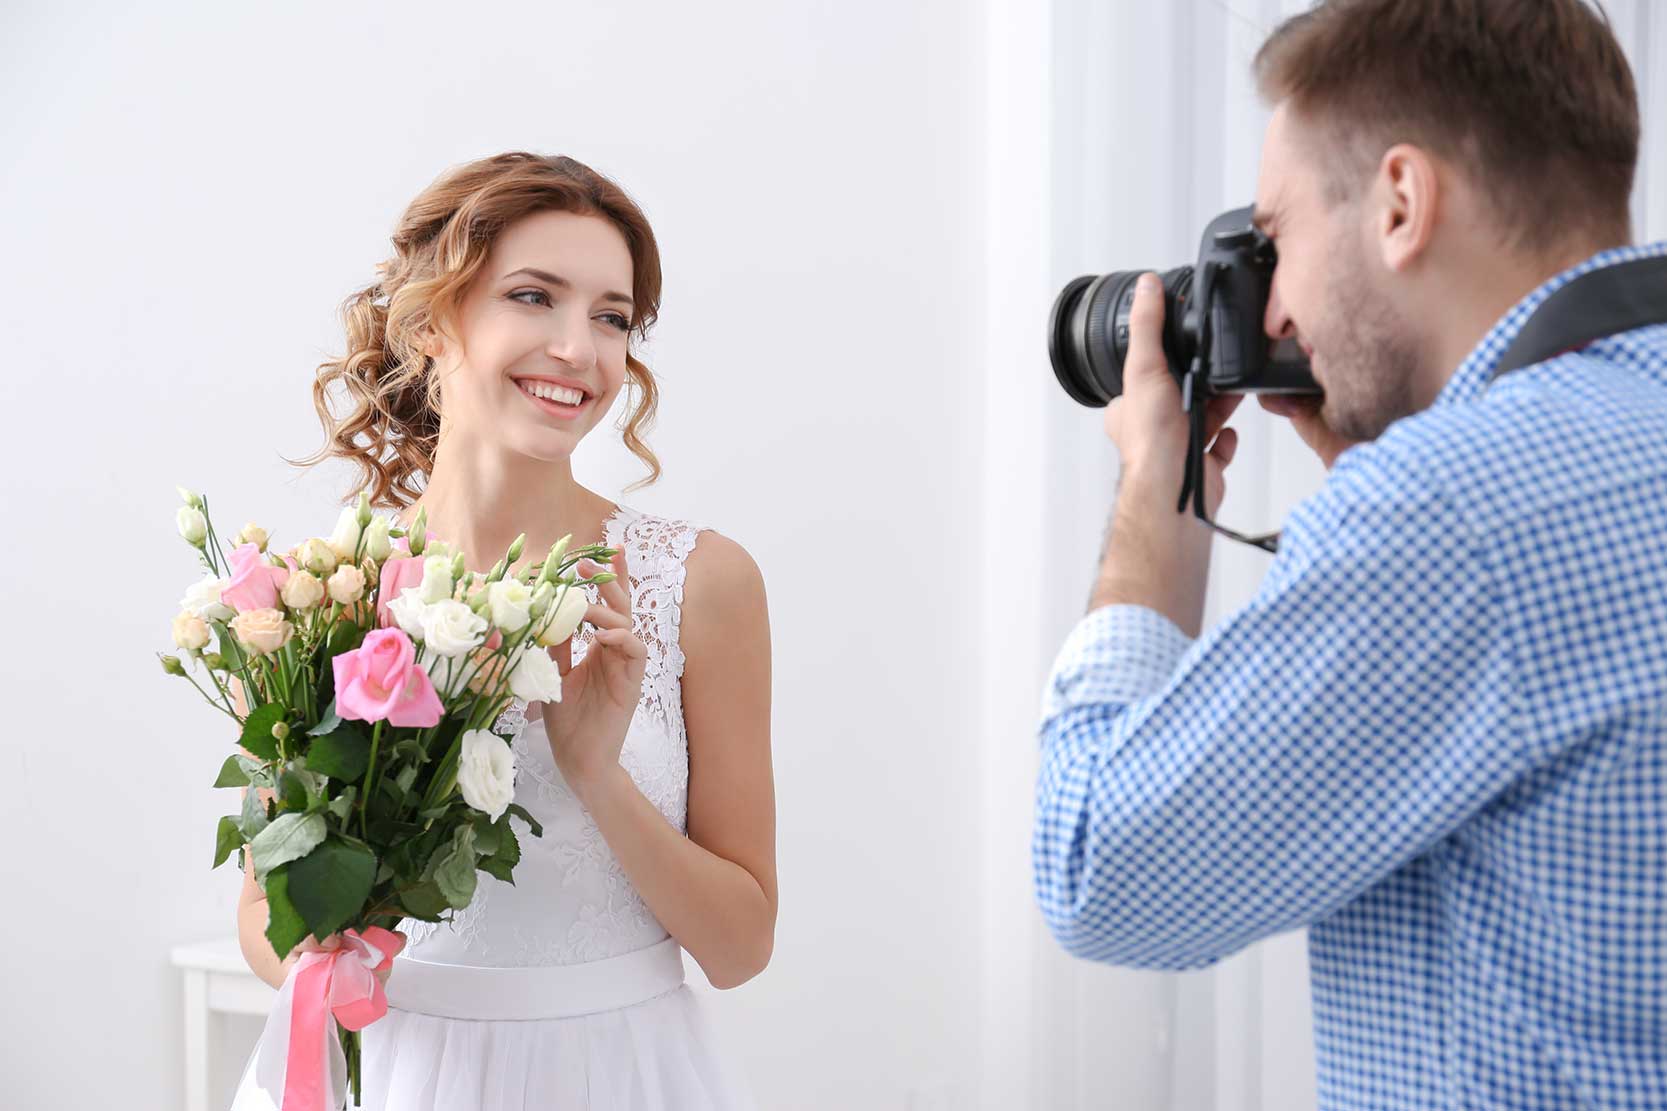
Just like any concept of photography, you will have to do great at both. You need a great photo to edit a great picture. Before we even get to editing, let’s talk about how to shoot properly.
Shooting Tips
Here’s a really helpful video from Chelsea Nicole Photography to get started.
Shoot in RAW
We have mentioned the same thing in many of our postings and we couldn’t stress this enough. If you are still shooting JPEG, you need to change your camera setting to shoot RAW right now.
With JPEG you would only be able to bump the exposure slightly before you start seeing some dithering in your photo, but with RAW you would be able to do much more. Even though RAW files are a lot bigger than JPEG which require more storage space, given its flexibility, it is worth its’ compromise.
Here’s a quick tutorial on how to do that by Joe Jackson
Look for Clean Space or Shoot During the Golden Hour
If you are doing some portraits or pre-wedding shots for the bride and groom it is worth to wait for the golden hour. During the event coverage, obviously you won’t be able to. So, try to improvise and find the best place to shoot. Pull your subject away from objects so that there will be less lights bouncing all over the places.
Use an Expodisc
It is often said that practical effect is better than visual effect, and in this case that is true. Expodisc measures the light hitting your subject which is very helpful when it comes to setting your white balance and exposure manually.
Here’s an overview of an Expodisc by PhotoJoseph. It is 16 minutes, but really worth the time.
Find Light Backgrounds
This one is a no-brainer. It is obvious enough, the easiest way to get that light and airy effect if you already have the subject itself as well as the space that you can easily fill in the light or by bumping up the ISO on your camera and get the perfect result every single time. Here is a good example:
Conclusion
When it comes to wedding photography, light and airy photography wins all the time. This is the reason why professional wedding photographers tend to adapt the familiar look and feel. These photos will look more professional to the eyes of your clients. By making your photos light and airy, it will also eliminate many obstructions suggesting calm and peaceful setting in every shot.