Foldable phones, convertibles devices and powerful iPad. It is difficult to ignore that mobile devices are getting more powerful than ever. Perfect time to sync presets to Lightroom mobile. Let’s bring the most powerful photo editing software and Lumosmax presets we know and love right on your portable devices.
How do you sync desktop Lightroom presets to mobile? It is easy!
This tutorial is for Lightroom, not to be mistaken with Lightroom Classic. If you are currently using Lightroom Classic; you need to download the new Lightroom just for the purpose of syncing your presets.
Step 1 – Navigate to Import Presets
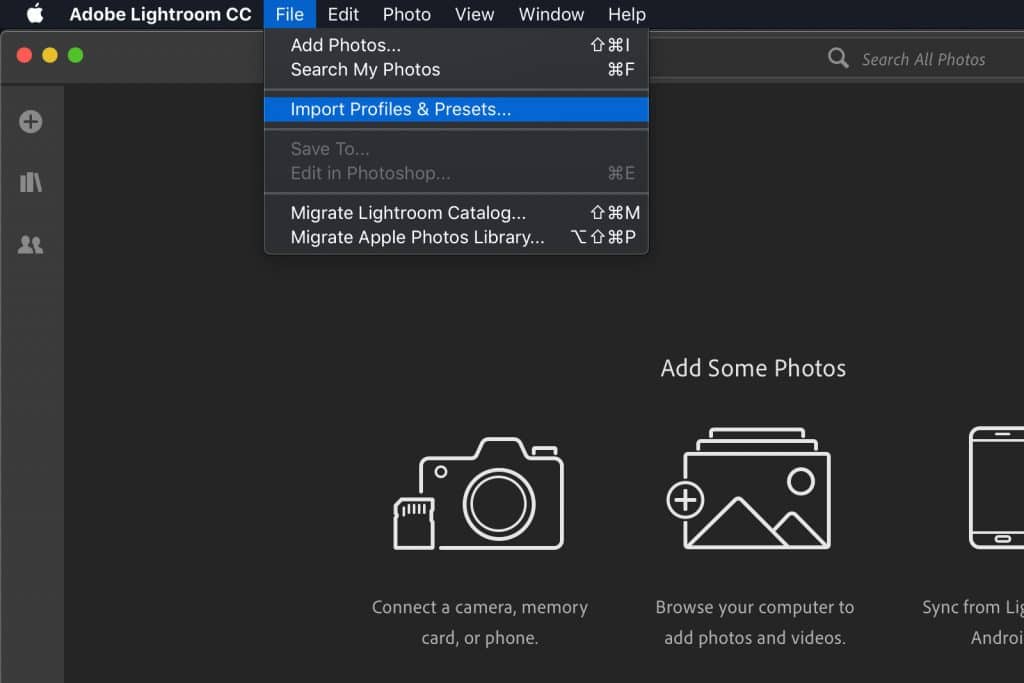
Importing our presets to Lightroom is easy. Click File > Import Profiles and Presets.
Step 2 – Selecting and Adding the Presets
Select all the preset folders you have downloaded from our website.
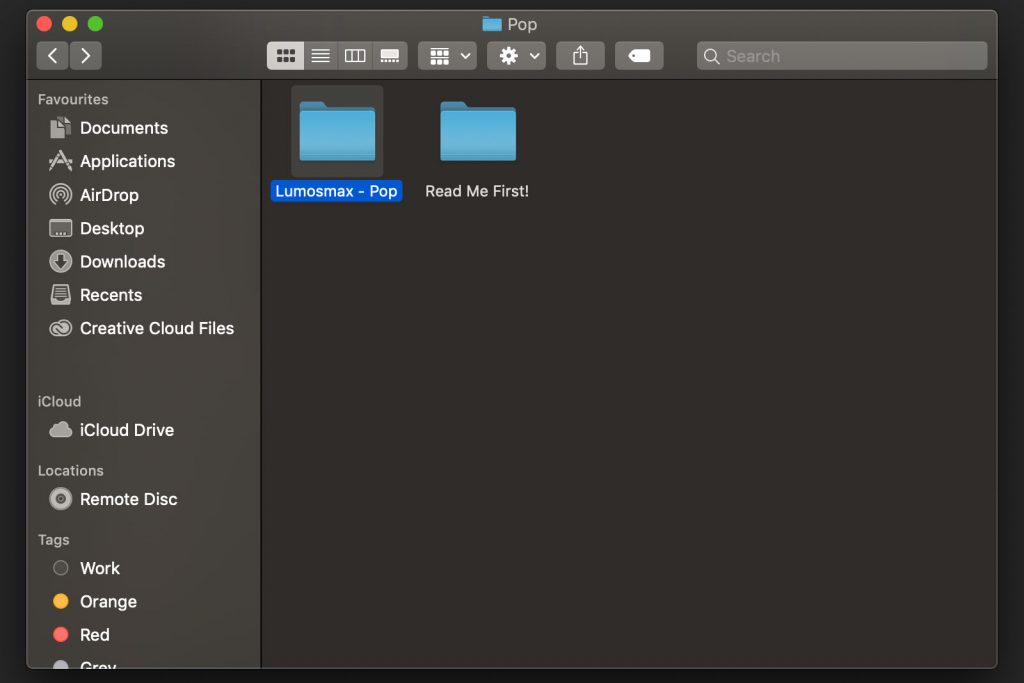
Note: If you have presets you have already installed in Lightroom Classic for Desktop; they should show up on your Lightroom CC. Add them manually if you can’t find them.
Below are the exact default location :
macOS ~/Library/Application Support/Adobe/CameraRaw/Settings
Windows C:\Users\(Replace with Your Username)\AppData\Roaming\Adobe\CameraRaw\Settings
Step 3 – Launch your Lightroom CC on Mobile
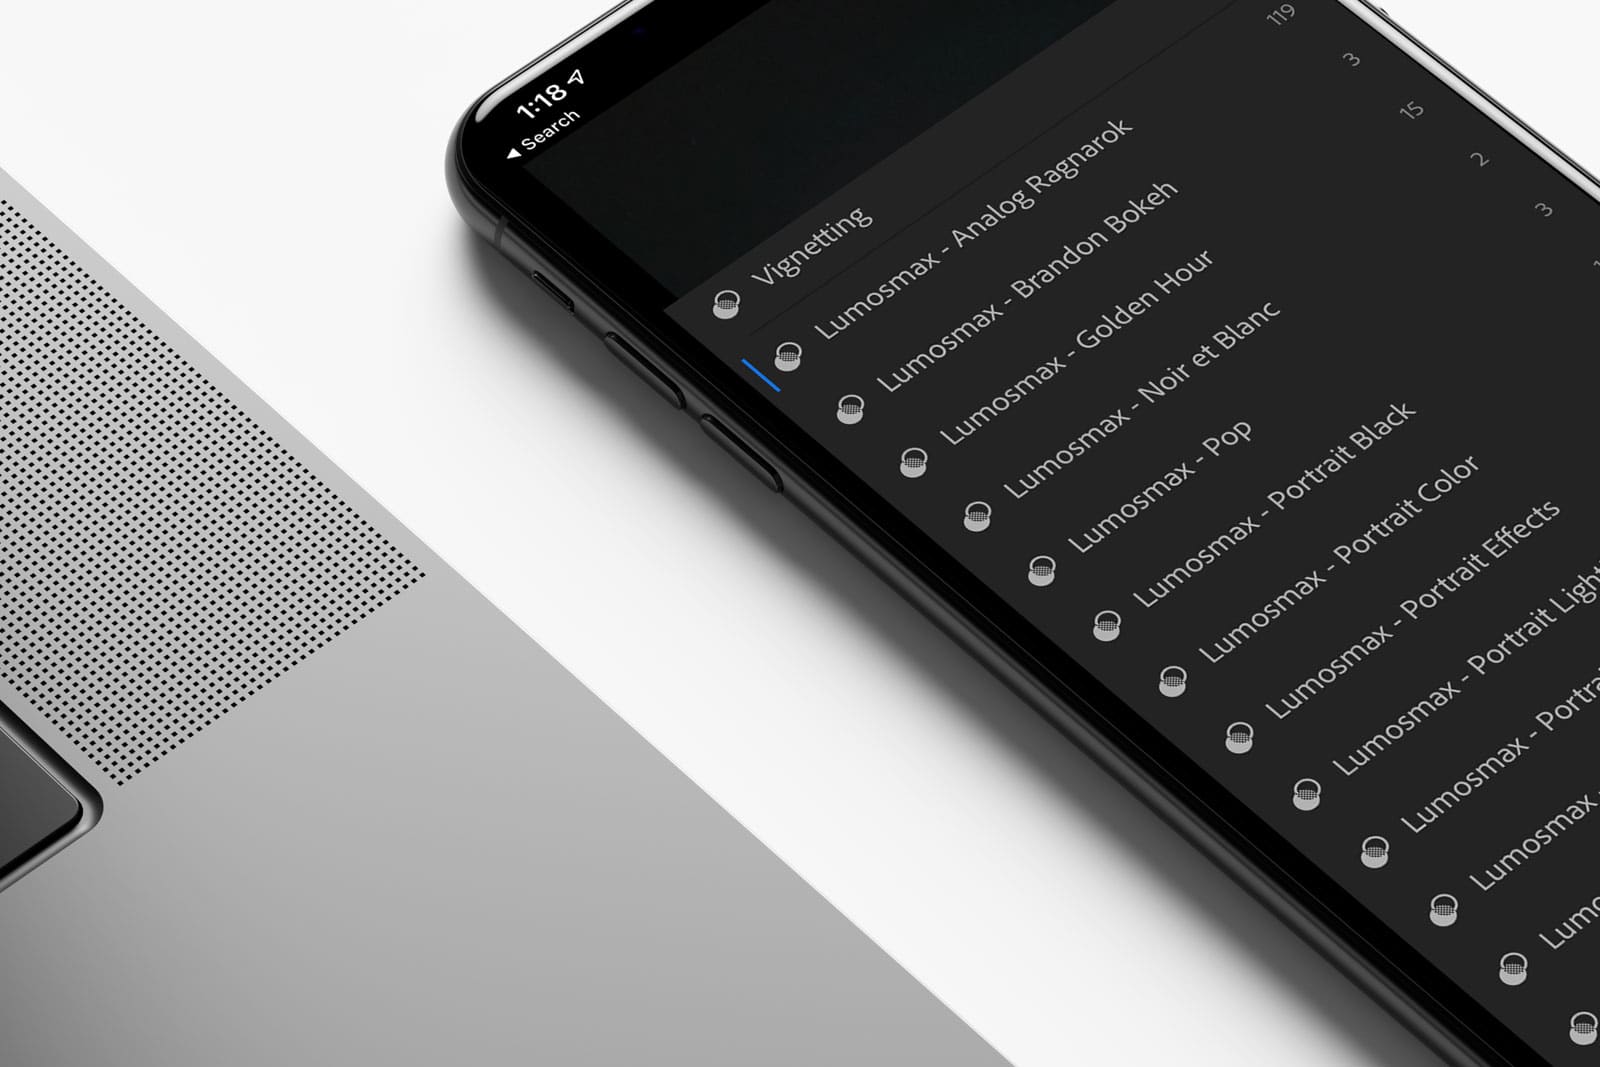
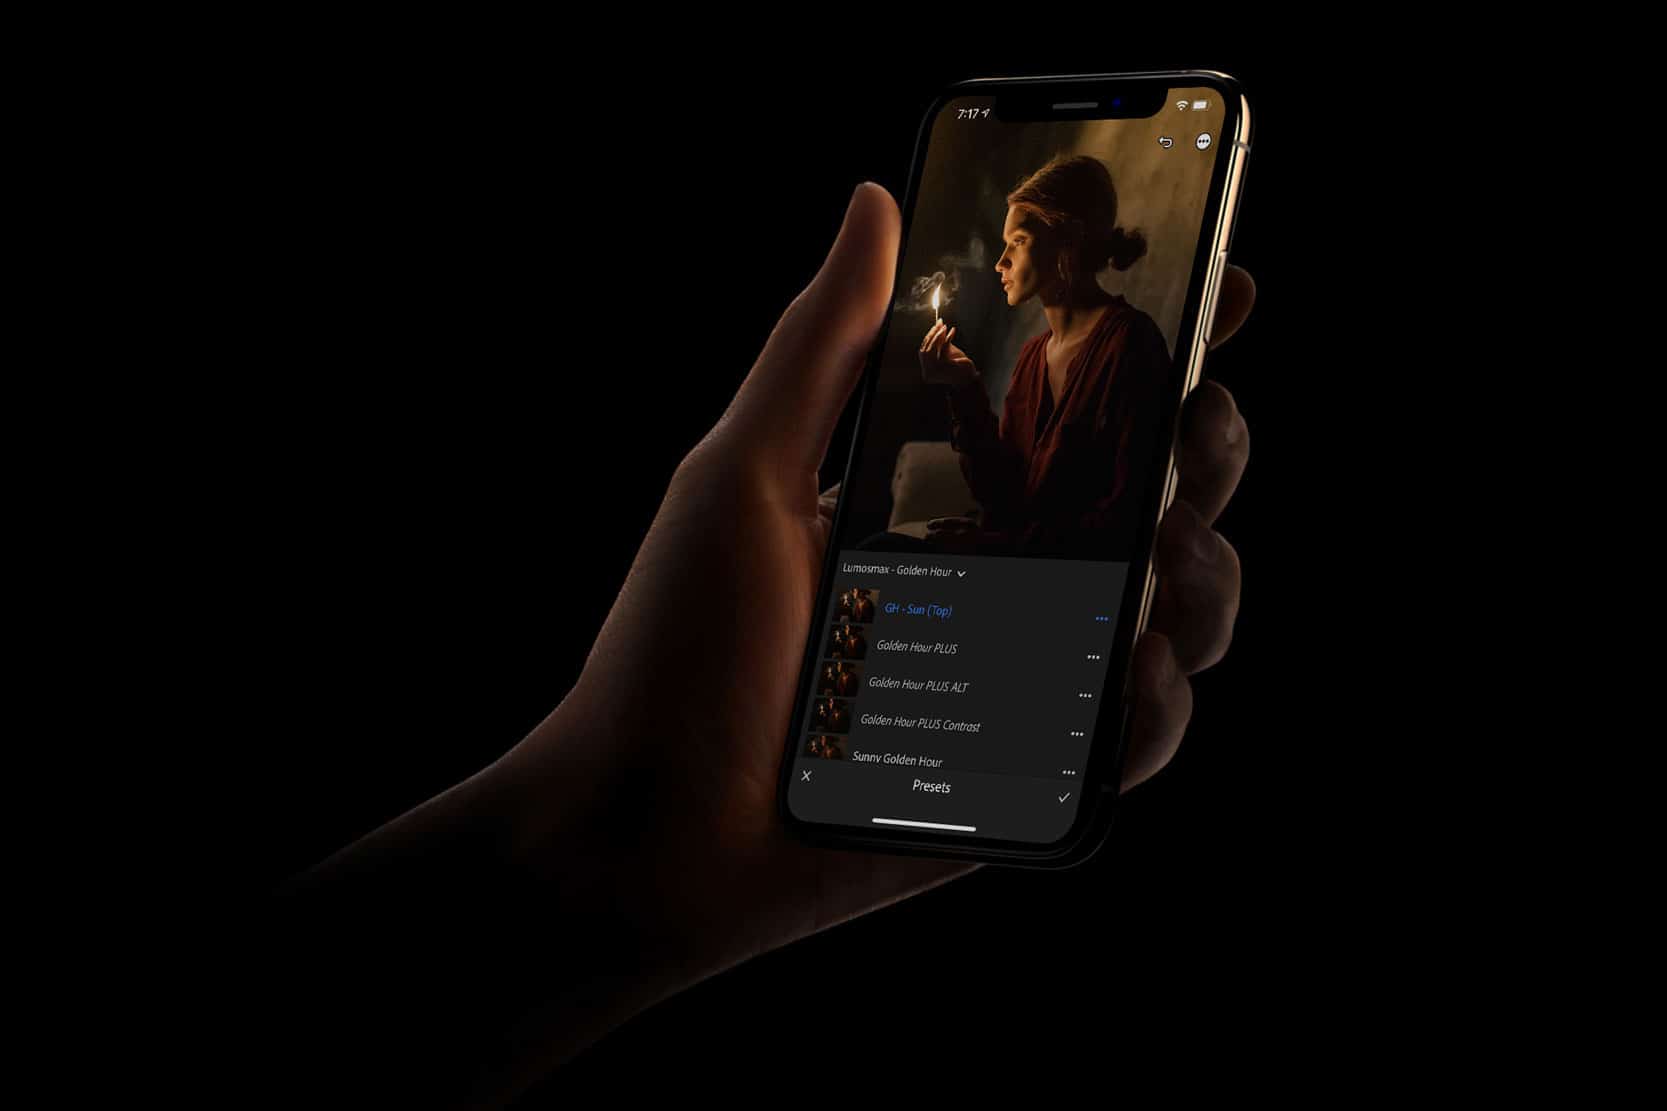
Your presets should now appear on your phone app. It should take some time for them to show up depending on your network connectivity.
Frequently Asked Questions (FAQs)
Depending on your device, you can immediately capture RAW photos on your phone. Simply take a photo using the Lightroom mobile app.
DNG Presets are files that can be imported straight to your Lightroom mobile. You don’t need Lightroom Desktop to start using them. However, they consume more time to install.
Technically Yes! Even though you need to purchase Lightroom for Desktop, they do come with 7 days trial. Just enough time to sync presets from Desktop to Mobile.
